> ## Documentation Index
> Fetch the complete documentation index at: https://docs.odigos.io/llms.txt
> Use this file to discover all available pages before exploring further.
# Connecting VM Agent
> Connect existing VM Agent hosts to Odigos Central for centralized visibility and management.
Powered by **eBPF**, the **Odigos VM Agent** automatically instruments systemd services, processes, and containers across your Linux hosts, seamlessly exporting telemetry to your observability backends. **Odigos Central** then brings it all together, providing a single, unified interface to view and manage all your VM Agent hosts from one place.
If you are looking to connect Kubernetes clusters, see [Remote Clusters](/central/adding-connections/remote-clusters).
## Prerequisites
Before you connect a host, make sure you:
* Install VM Agent on your Linux hosts. If VM Agent is not installed yet, start with [VM Agent installation](/vmagent/setup/installation).
* Expose Odigos Central externally (for example, via an Ingress, LoadBalancer Service, or another supported exposure method).
* Have a Central endpoint URL that is reachable from your VM hosts.
To connect VM Agent to Odigos Central, use one of the following methods:
Use `odictl` to connect the VM Agent to Odigos Central.
```shell theme={null}
odictl
```
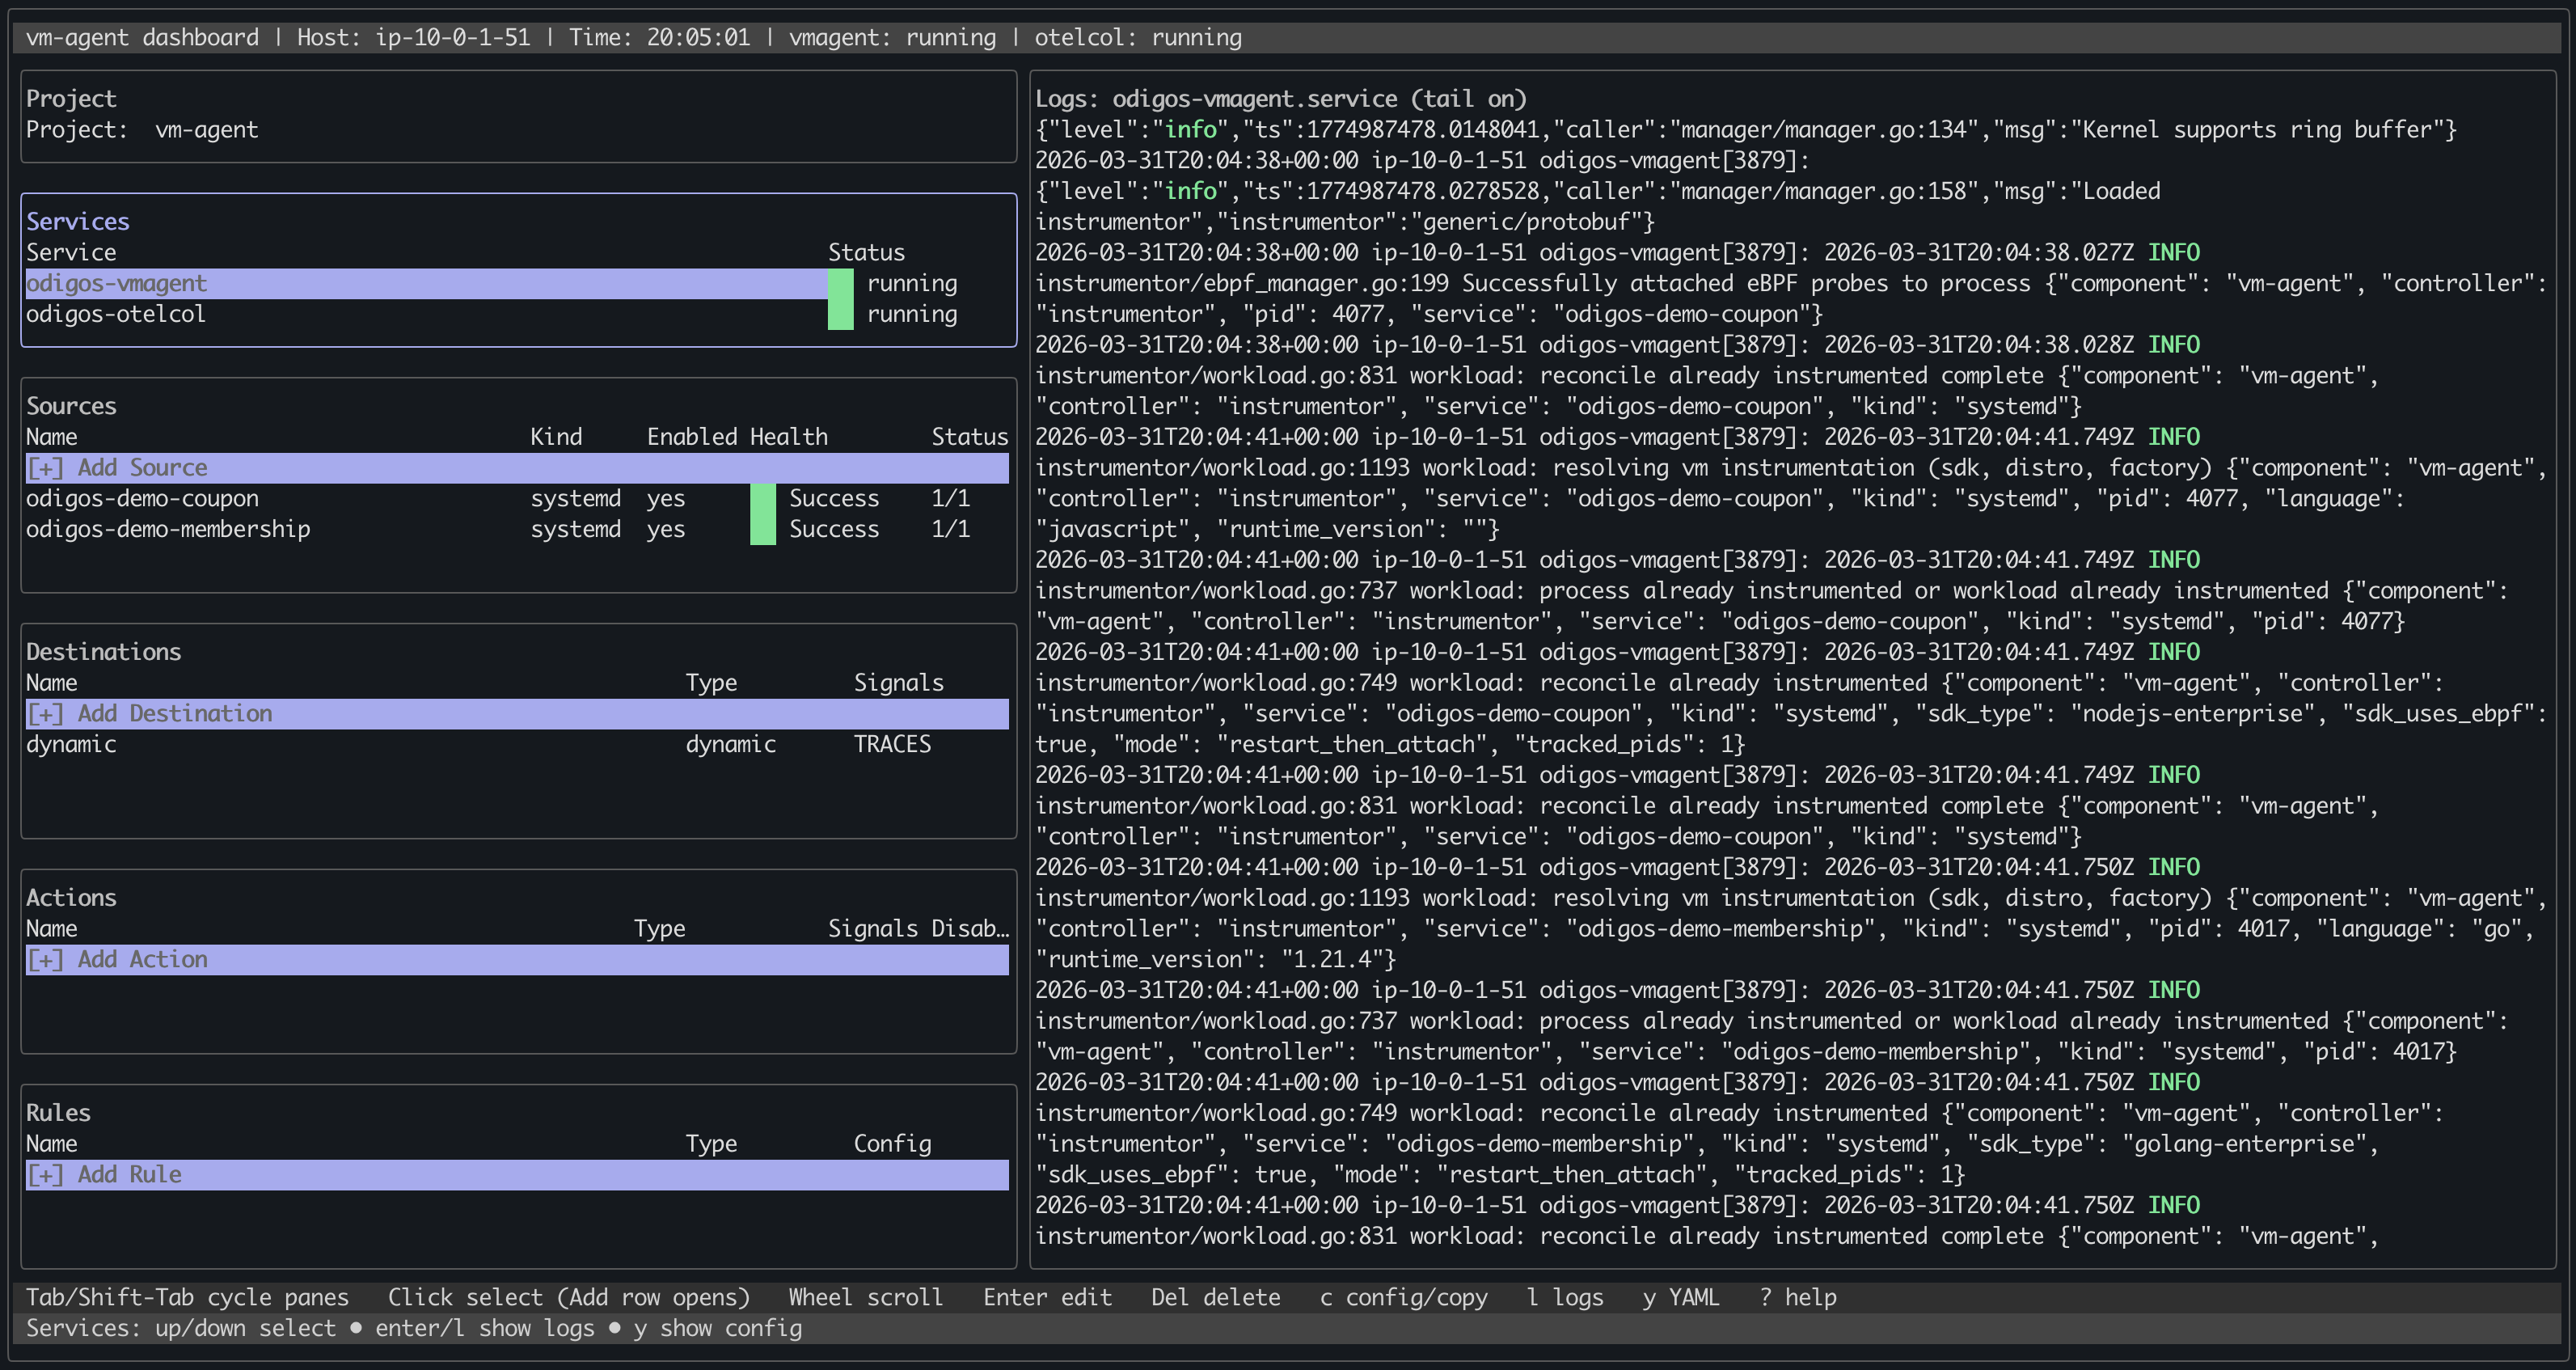 Press `c` to navigate to the configuration screen.
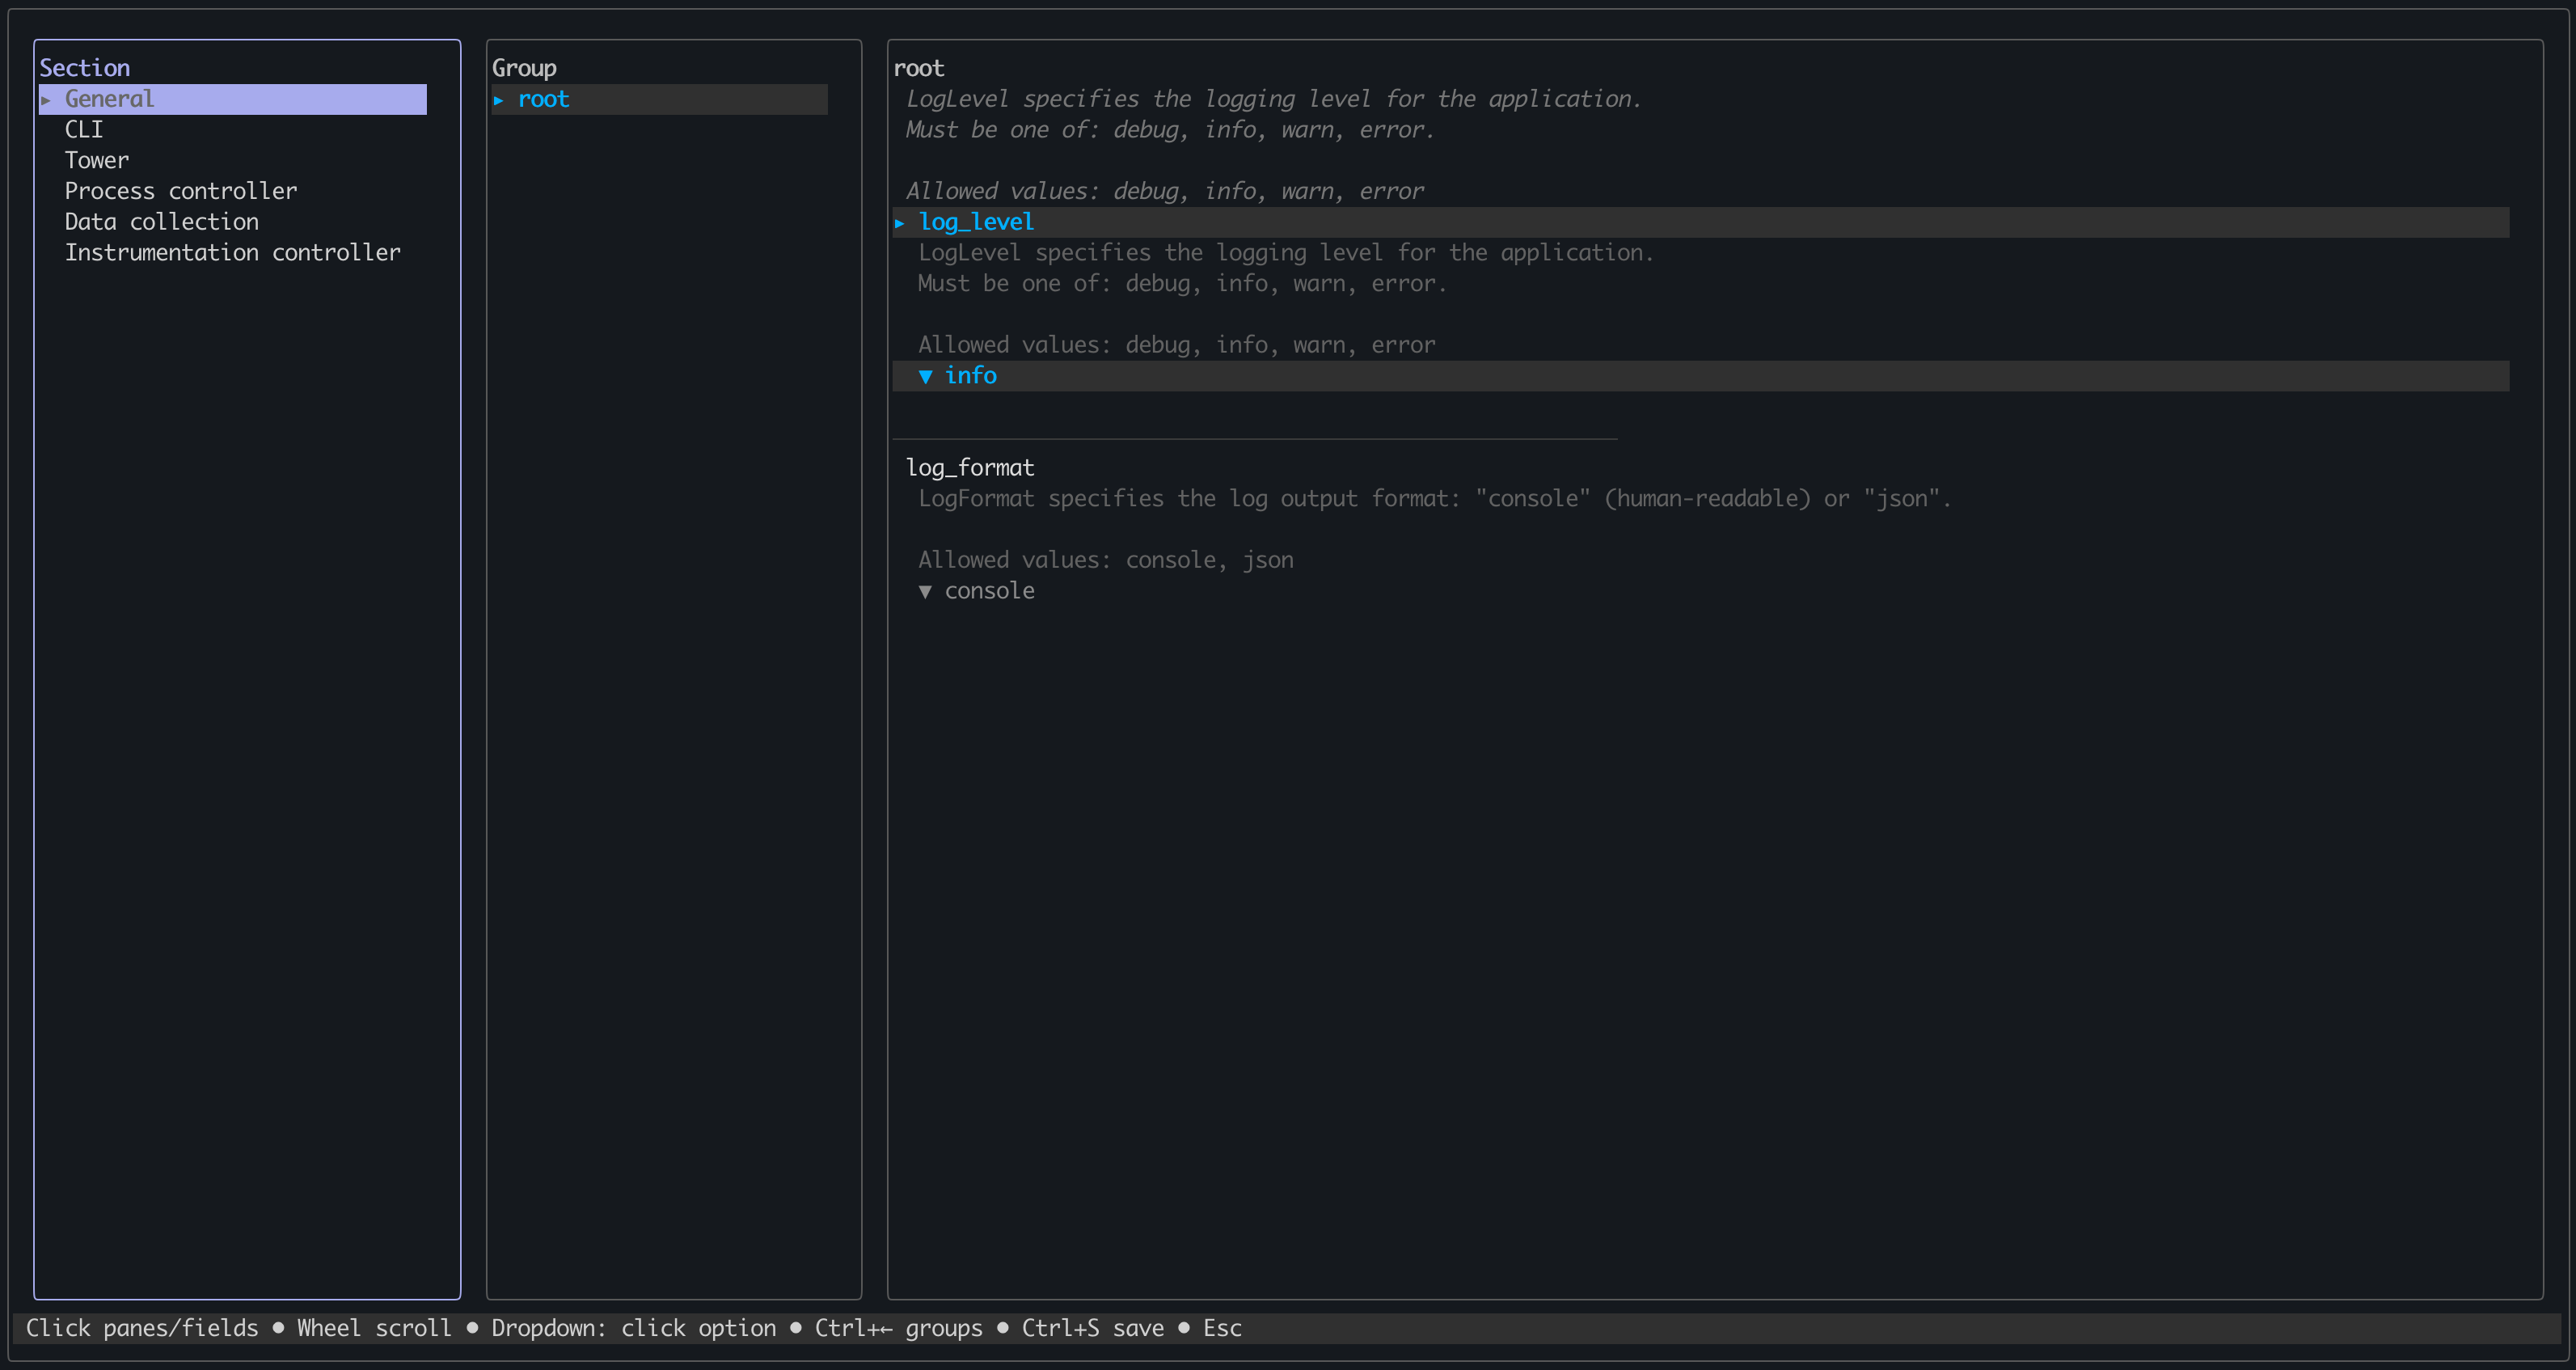 Use the arrow keys or mouse to navigate to the Tower section on the left side of the screen.
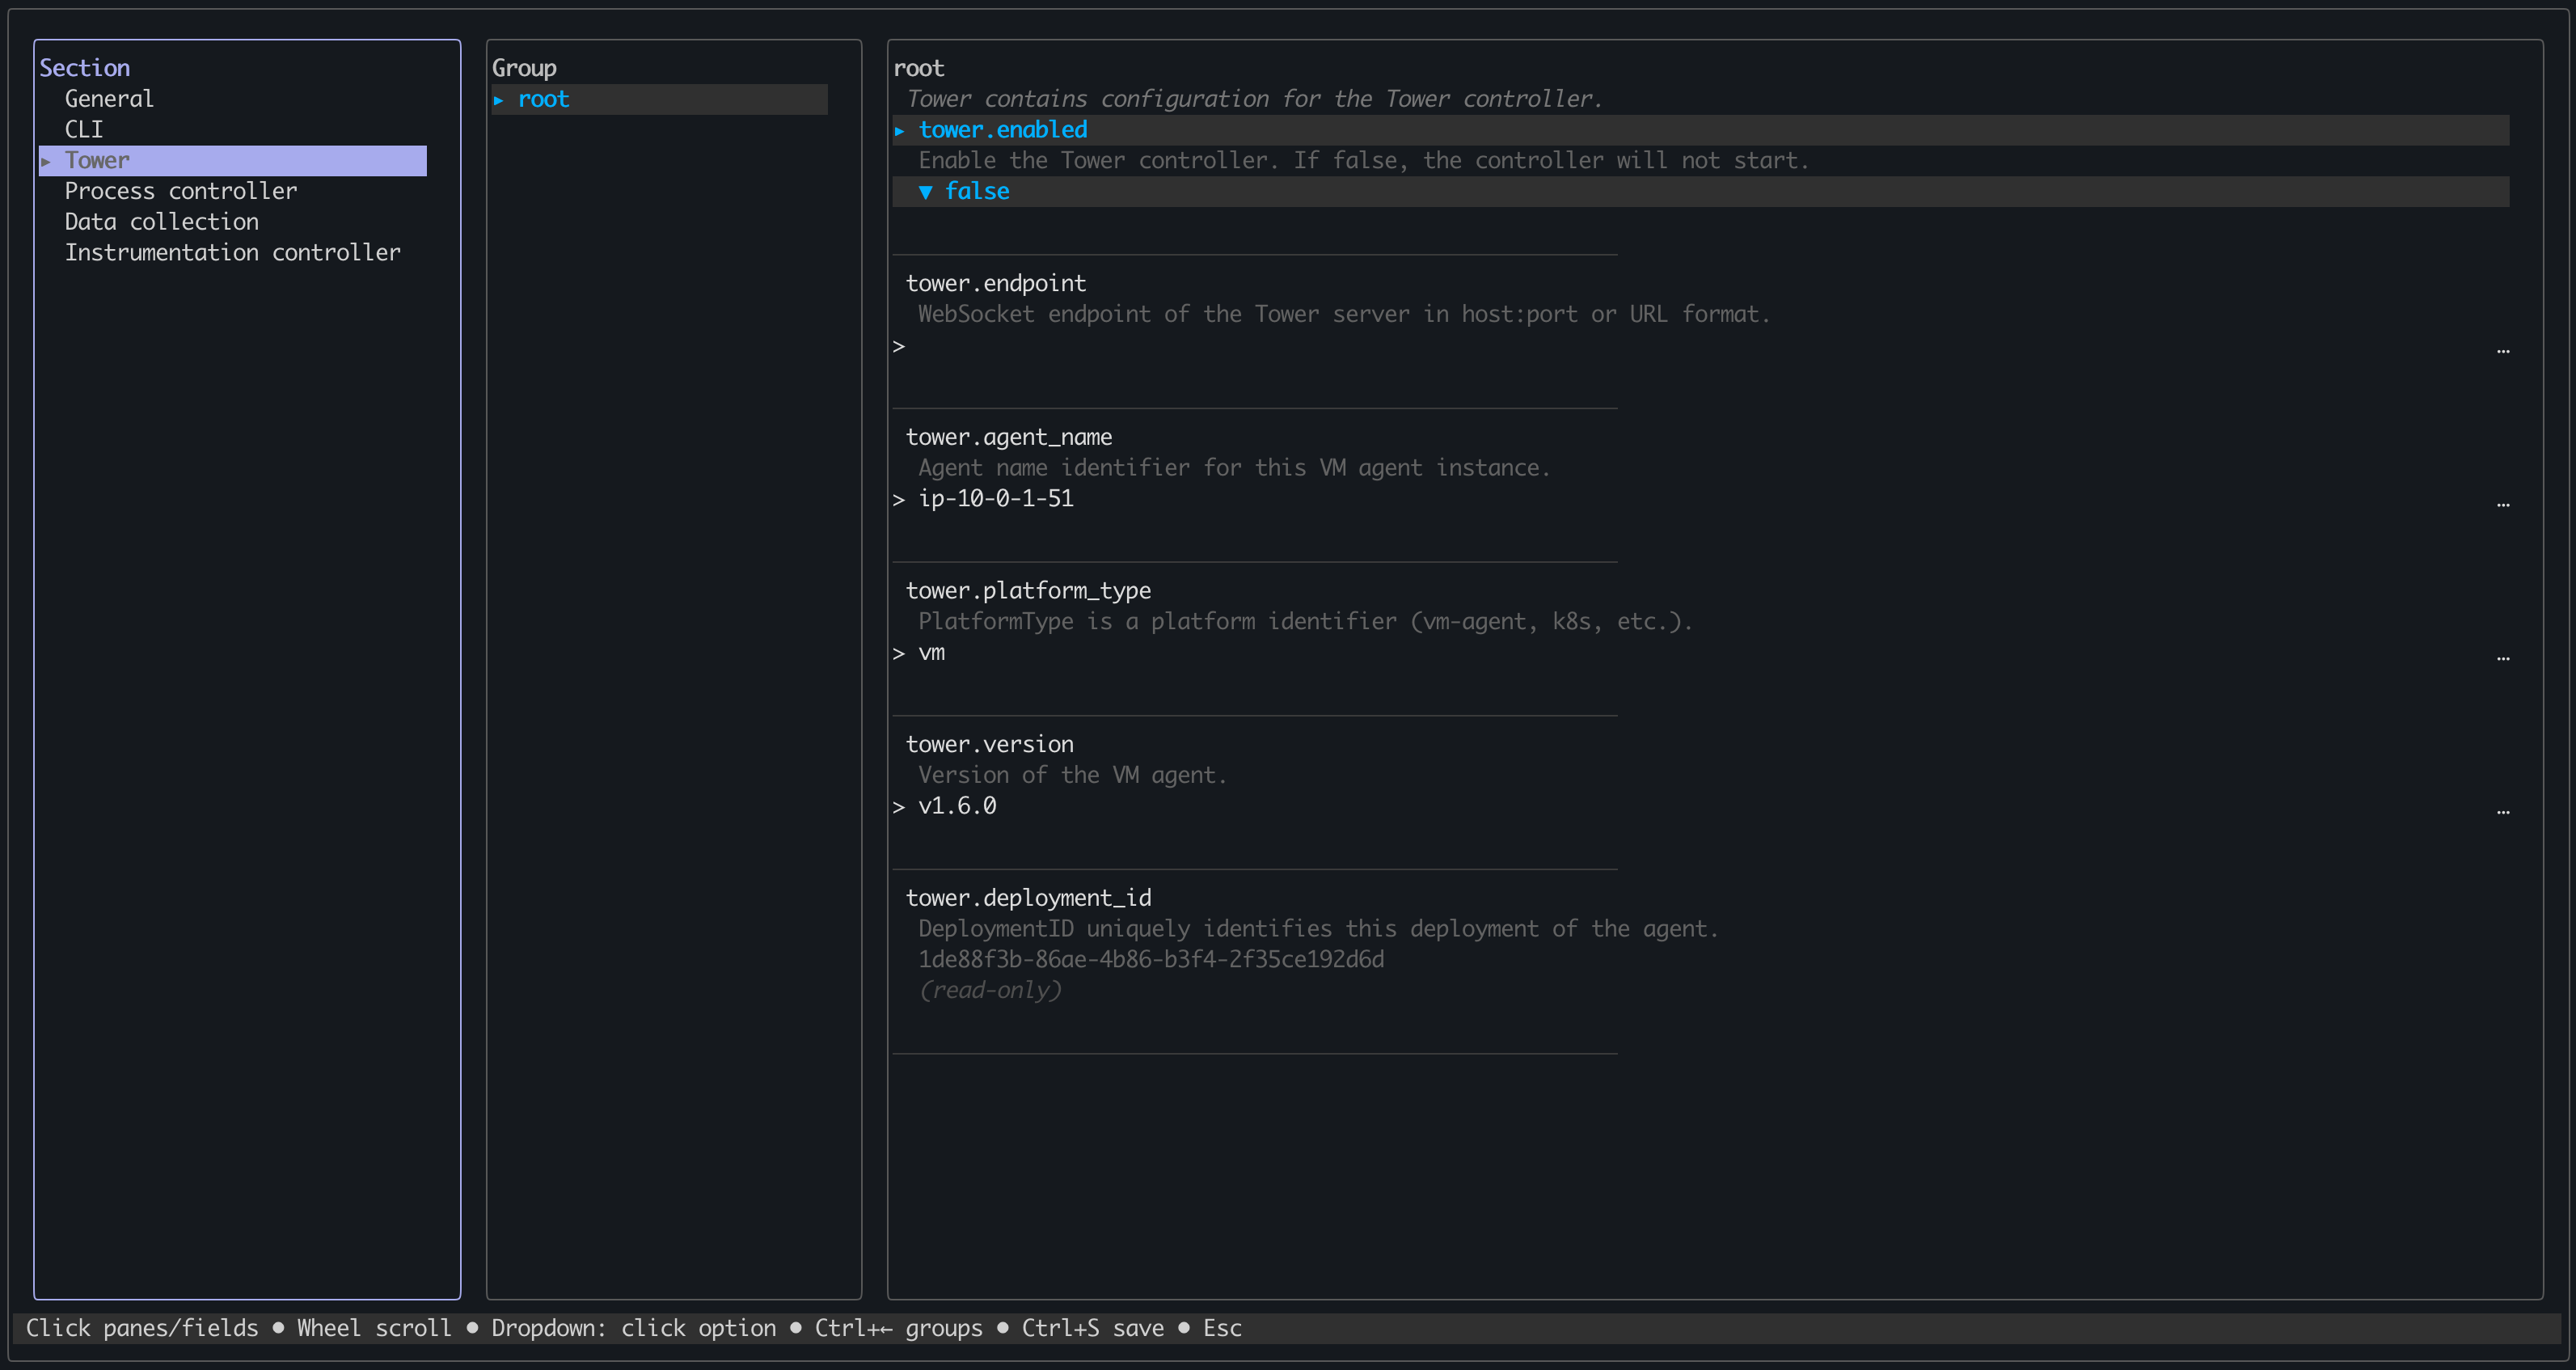 Use the `Tab` key or mouse to navigate and configure the following fields:
Enable the Central controller. If false, the controller will not start.
Use the `Tab` key or mouse to navigate and configure the following fields:
Enable the Central controller. If false, the controller will not start.
Set this value to `true`.
WebSocket endpoint of the Central server in host:port or URL format.
Set this to the Central endpoint URL from the [Prerequisites](#prerequisites) section above.
Agent name identifier for this VM Agent instance. (Defaults to IP of the host where dots are replaced with dashes, with an ip- prefix)
Set this to the display name you want to see in Odigos Central.
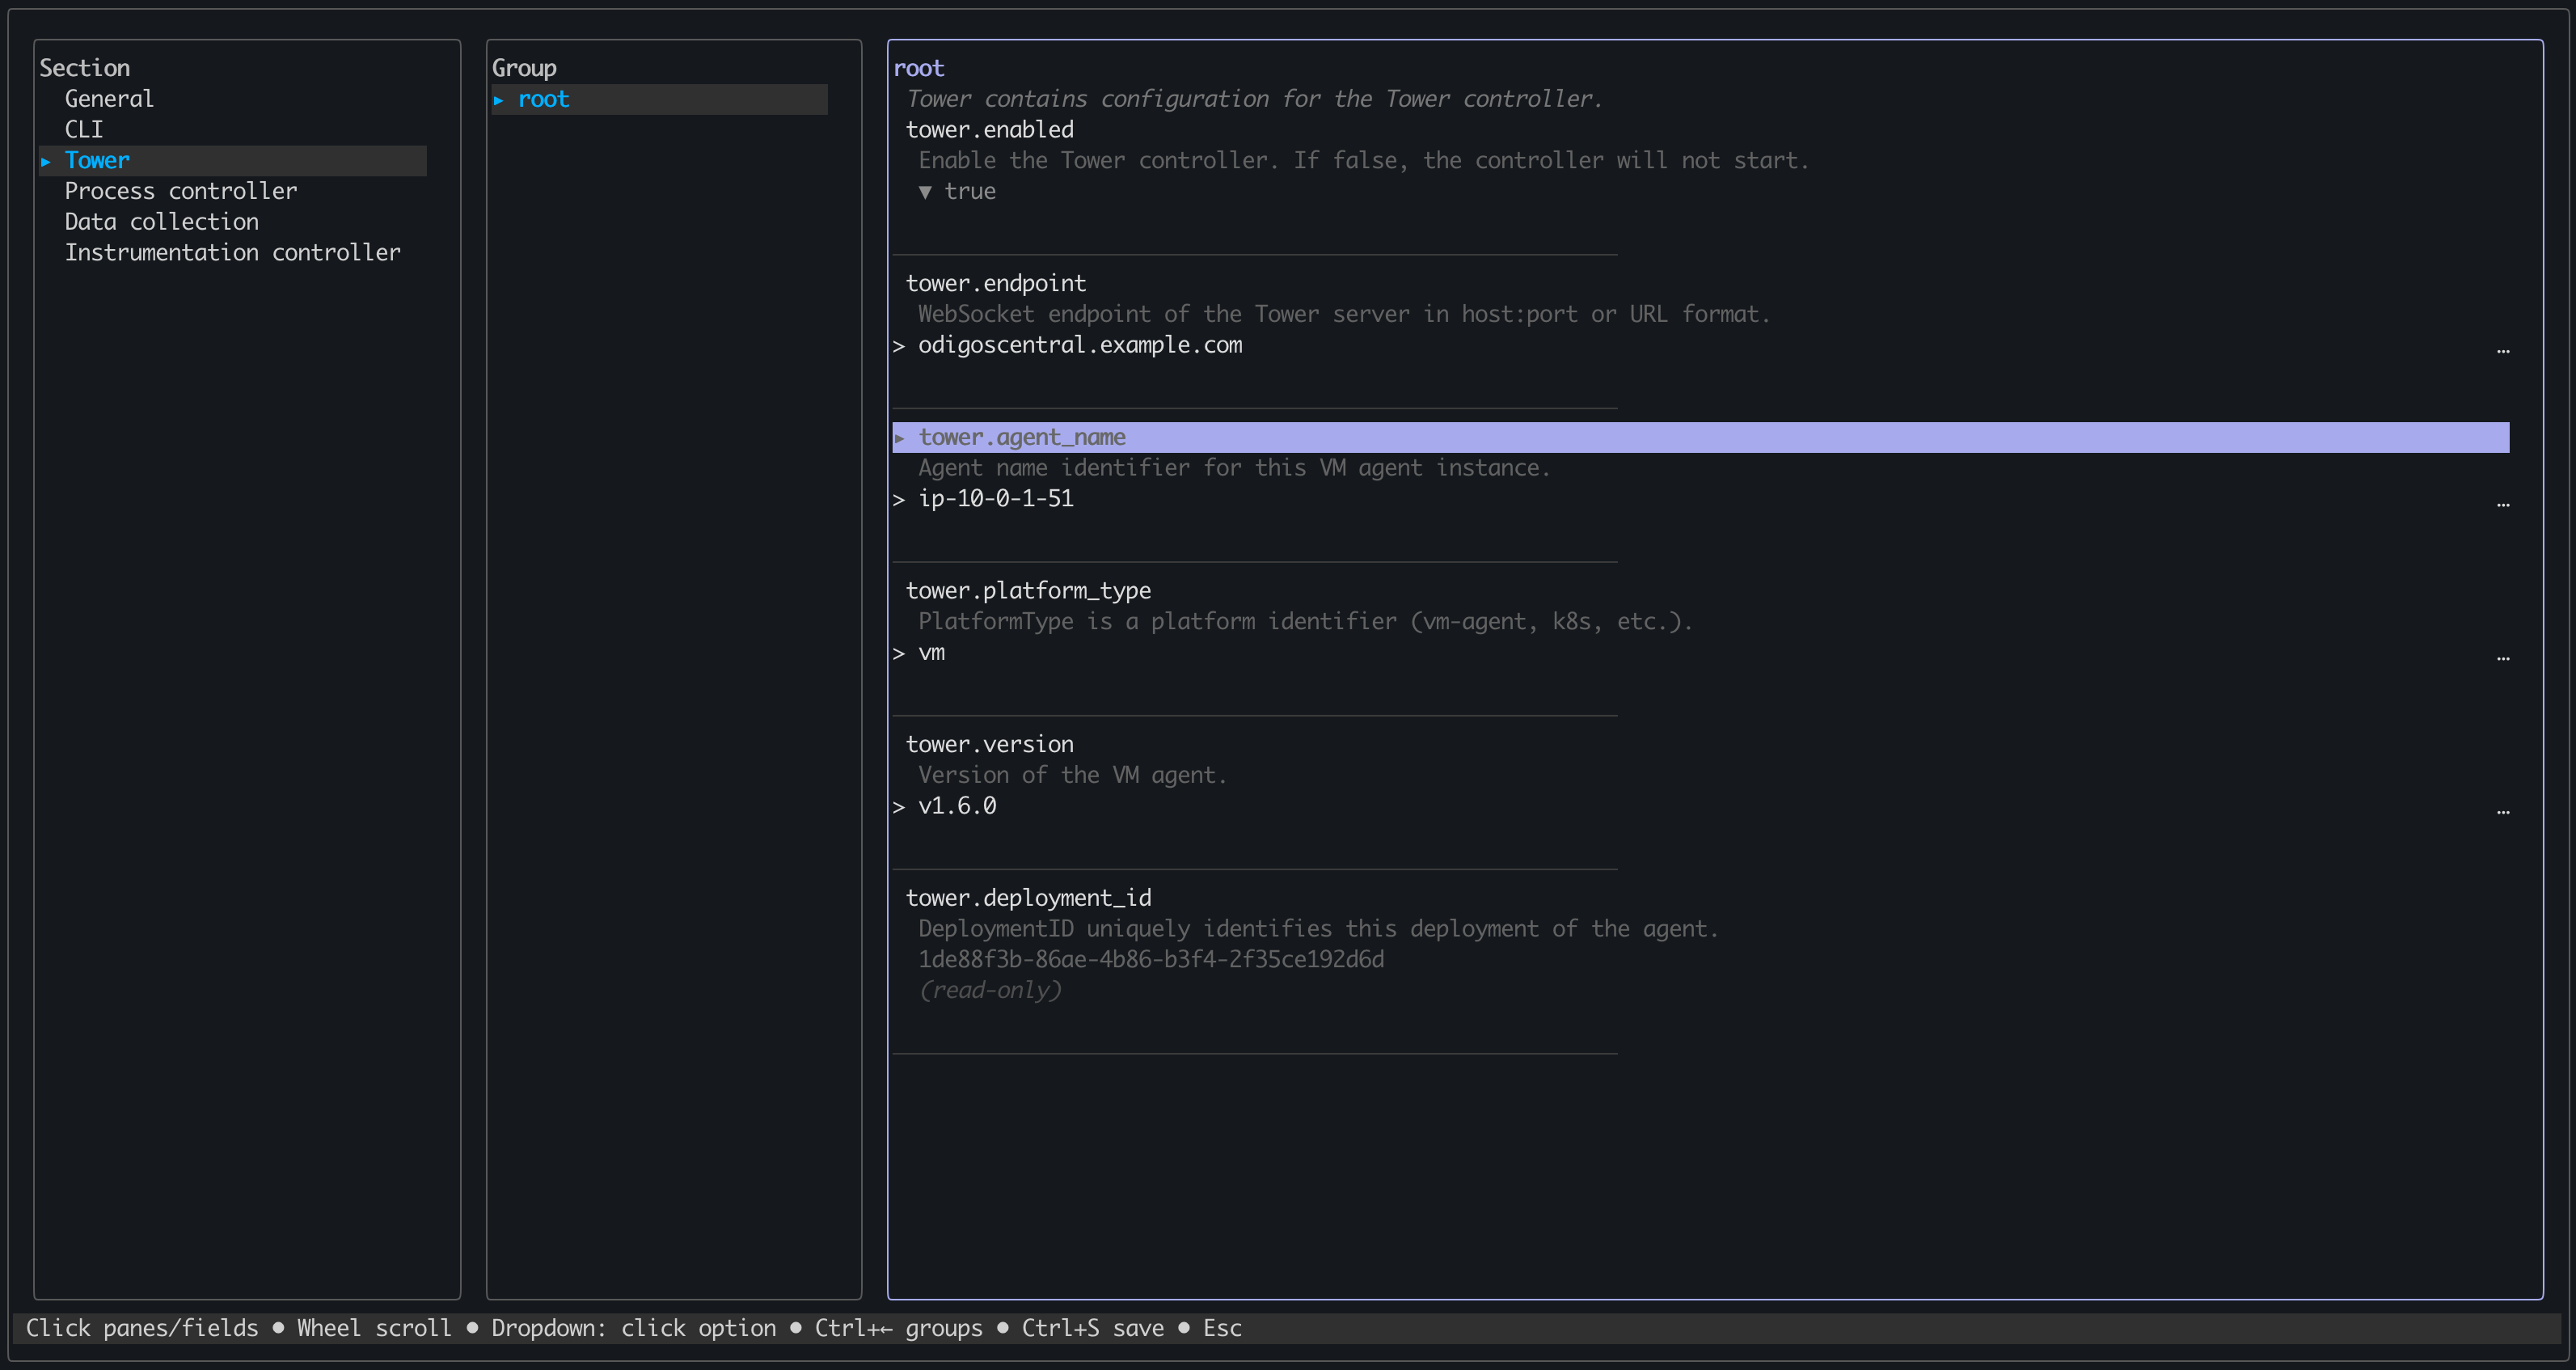 Press `Ctrl+S` to save the configuration.
Press `Ctrl+C` to exit `odictl`.
Restart the VM Agent service:
```shell theme={null}
sudo systemctl restart odigos-vmagent.service
```
Use `YAML` configuration files to connect VM Agent to Odigos Central.
```shell theme={null}
cd /etc/odigos-vmagent
```
Edit the `config.yaml` file using an editor of your choice. The example below uses [vi](https://en.wikipedia.org/wiki/Vi).
```shell theme={null}
sudo vi config.yaml
```
Modify the following fields:
Enable the Central controller. If false, the controller will not start.
Press `Ctrl+S` to save the configuration.
Press `Ctrl+C` to exit `odictl`.
Restart the VM Agent service:
```shell theme={null}
sudo systemctl restart odigos-vmagent.service
```
Use `YAML` configuration files to connect VM Agent to Odigos Central.
```shell theme={null}
cd /etc/odigos-vmagent
```
Edit the `config.yaml` file using an editor of your choice. The example below uses [vi](https://en.wikipedia.org/wiki/Vi).
```shell theme={null}
sudo vi config.yaml
```
Modify the following fields:
Enable the Central controller. If false, the controller will not start.
Set this value to `true`.
WebSocket endpoint of the Central server in host:port or URL format.
Set this to the Central endpoint URL from the [Prerequisites](#prerequisites) section above.
Agent name identifier for this VM Agent instance. (Defaults to IP of the host where dots are replaced with dashes, with an ip- prefix)
Set this to the display name you want to see in Odigos Central.
```yaml theme={null}
log_level: info
log_format: console
cli:
port: 23678
tower:
enabled: true
endpoint: "odigoscentral.example.com"
agent_name: ip-10-0-1-51
platform_type: vm
version: v1.6.0
...
```
The `YAML` above is only a snippet of the full `config.yaml` file.
```shell theme={null}
:wq!
```
Restart the VM Agent service:
```shell theme={null}
sudo systemctl restart odigos-vmagent.service
```
You should now see your VM Agent listed under Connections in the Central UI.
## Next steps
Learn more about VM Agent capabilities and core concepts.