> ## Documentation Index
> Fetch the complete documentation index at: https://docs.odigos.io/llms.txt
> Use this file to discover all available pages before exploring further.
# Introduction
In this tutorial we are going to use Odigos for generating distributed traces for a microservices-based application written in Go, Java, Python, .NET and Node.js.
We are going to deploy the application in a Kubernetes cluster and use [Jaeger](https://www.jaegertracing.io/) as the backend for storing and visualizing the traces.
This guide is designed for:
* IT professionals with experience in system administration or DevOps
* Software engineers familiar with containerization and Kubernetes concepts
* Anyone comfortable with command-line interfaces and basic cloud infrastructure
If you're new to these concepts or prefer a more detailed, step-by-step approach, we recommend starting with our [Beginner's Guide to Odigos Installation](../quickstart/installation-guide-for-beginners).
## Preparing the environment
### Creating a Kubernetes cluster
This first step is to create a Kubernetes cluster.
We recommend using [kind](https://kind.sigs.k8s.io/) or [minikube](https://minikube.sigs.k8s.io/docs/) for trying Odigos out in a local environment.
**Mac users**: please avoid using Docker Desktop built-in Kubernetes cluster as it [does not](https://docs.docker.com/storage/bind-mounts/#configure-bind-propagation) support bind propagation.
Create a new local Kubernetes cluster, by running the following command:
```bash theme={null}
kind create cluster
```
```bash theme={null}
minikube start
```
### Deploying the target application
We are going to install a [demo application](https://github.com/odigos-io/simple-demo) that consists of 6 microservices written in Java, Go, Python, Node.js, .NET and PHP.
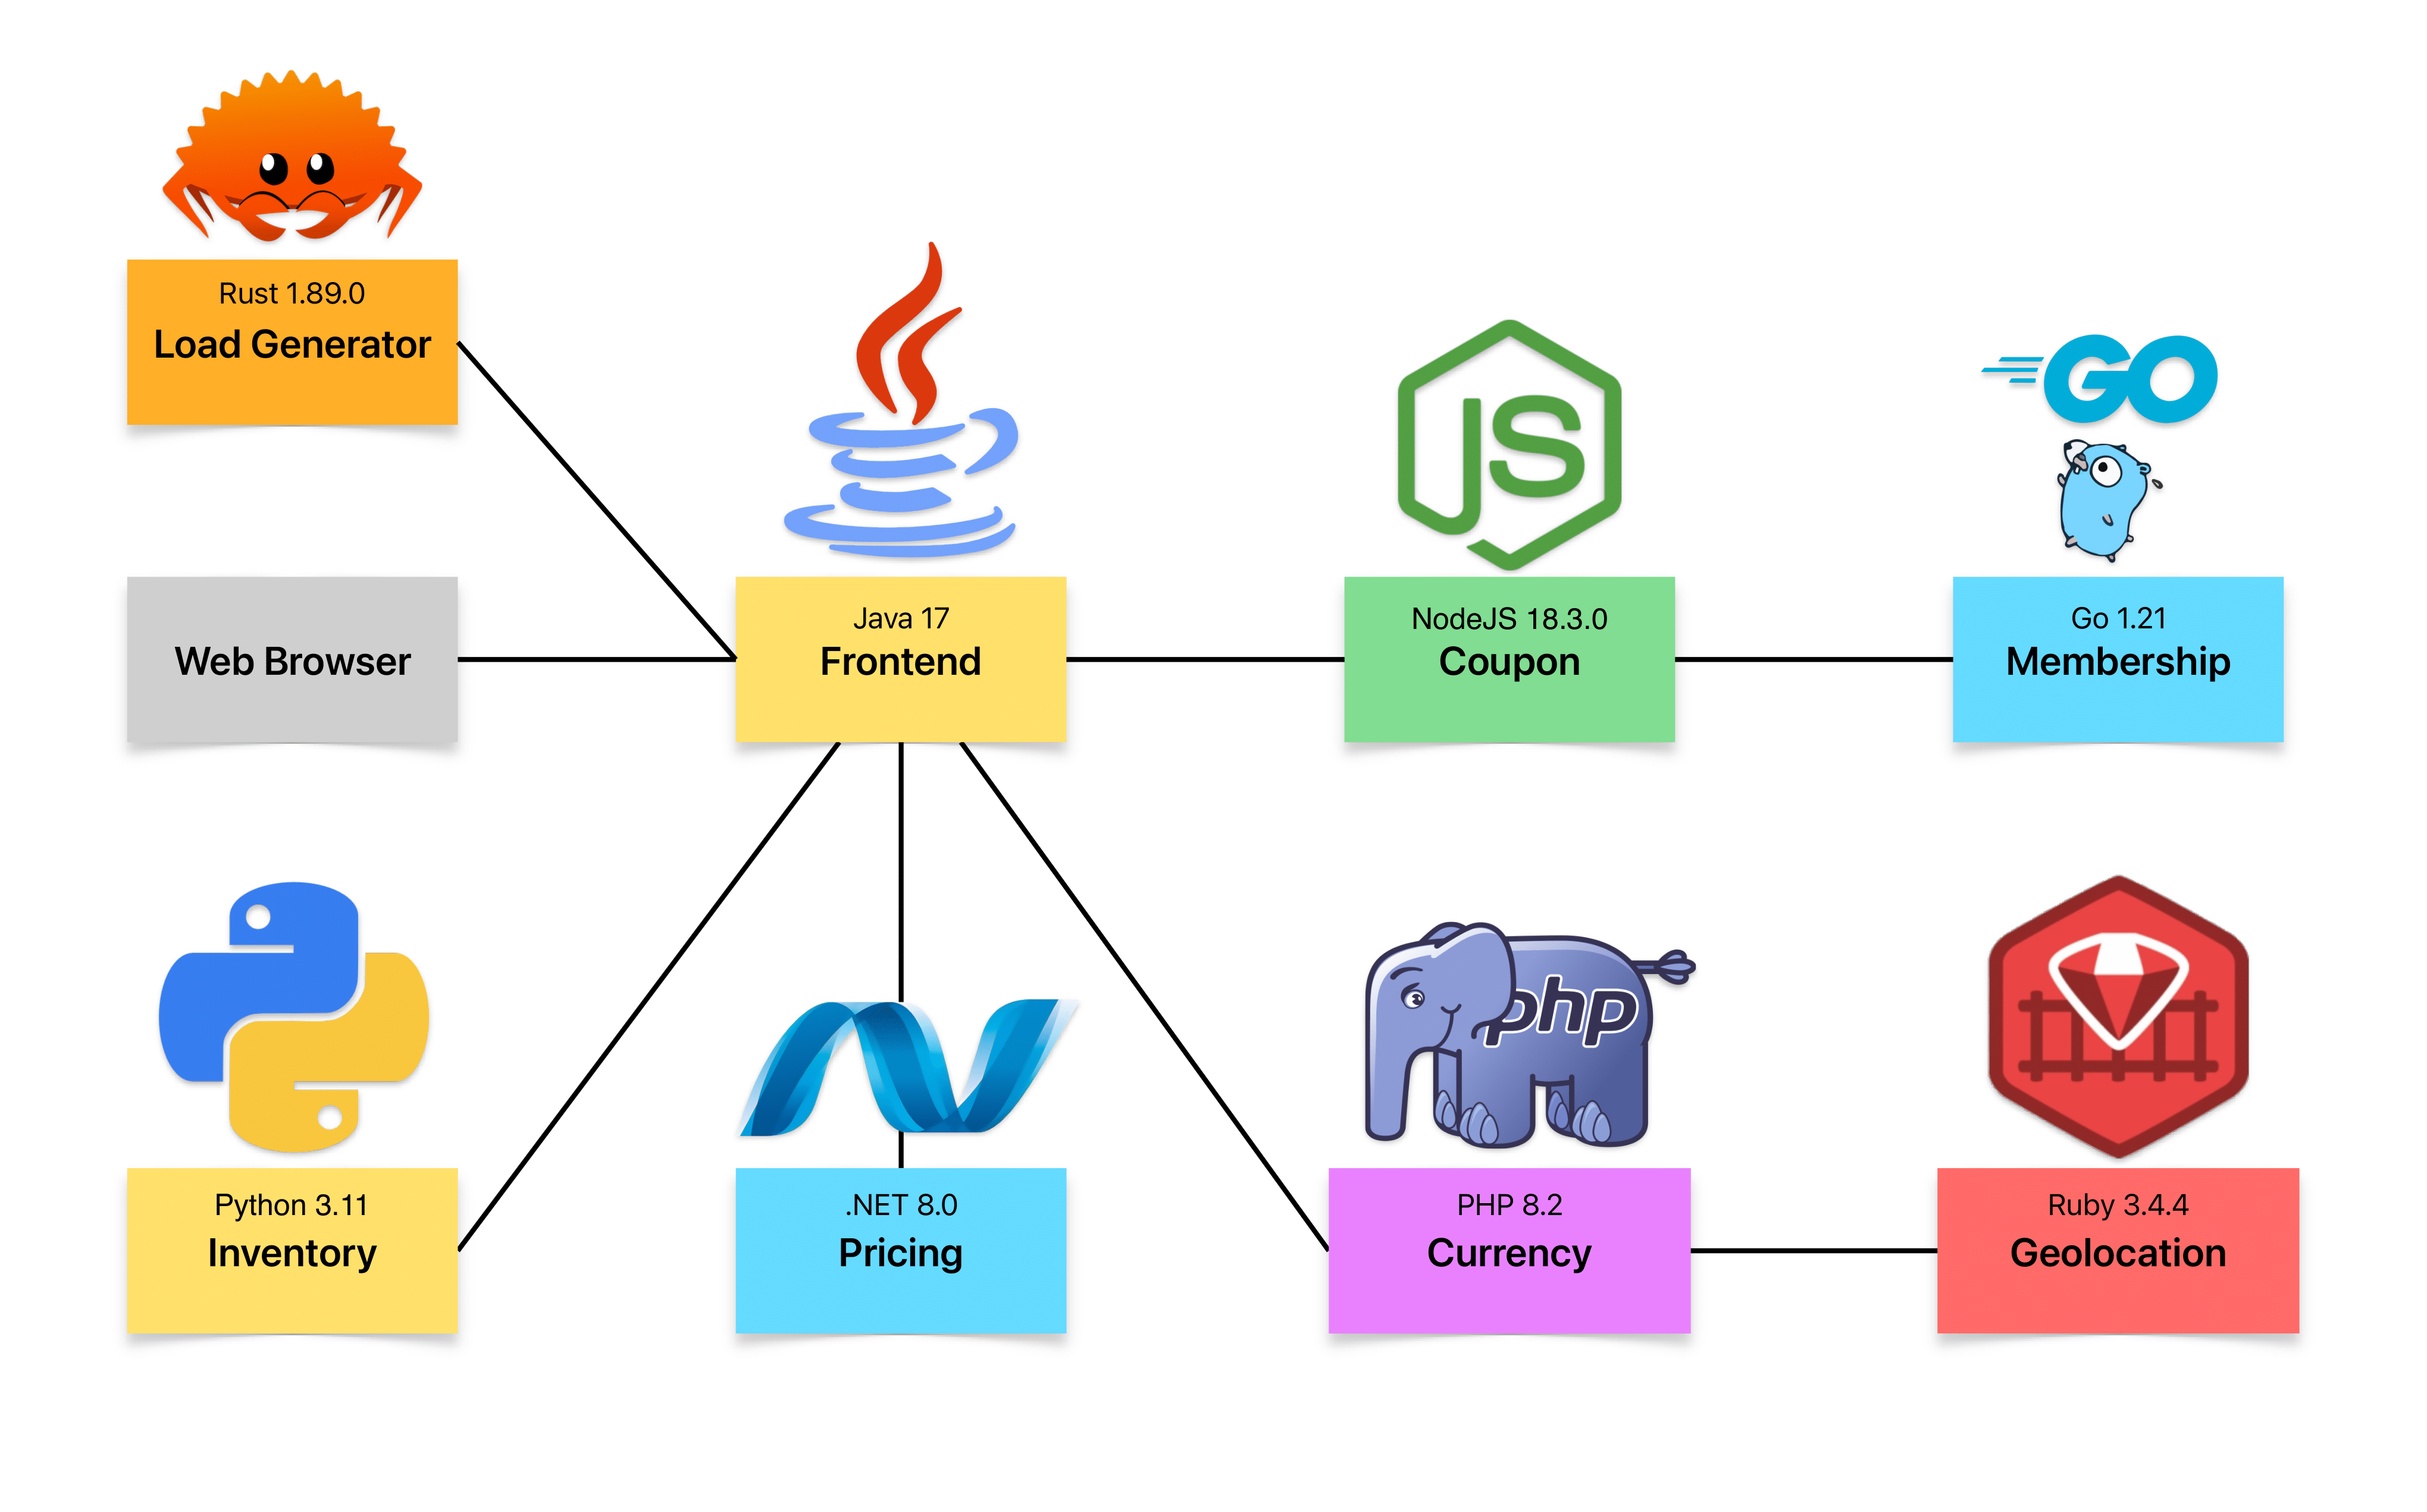 Deploy the application using the following command:
```bash theme={null}
kubectl apply -f https://raw.githubusercontent.com/odigos-io/simple-demo/main/kubernetes/deployment.yaml
```
### Deploying Jaeger
Jaeger is a popular open source distributed tracing backend. We are going to use it for storing and visualizing the traces generated by Odigos.
Install Jaeger using the following command:
```bash theme={null}
kubectl apply -f https://raw.githubusercontent.com/odigos-io/simple-demo/main/kubernetes/jaeger.yaml
```
### Waiting for the applications to start
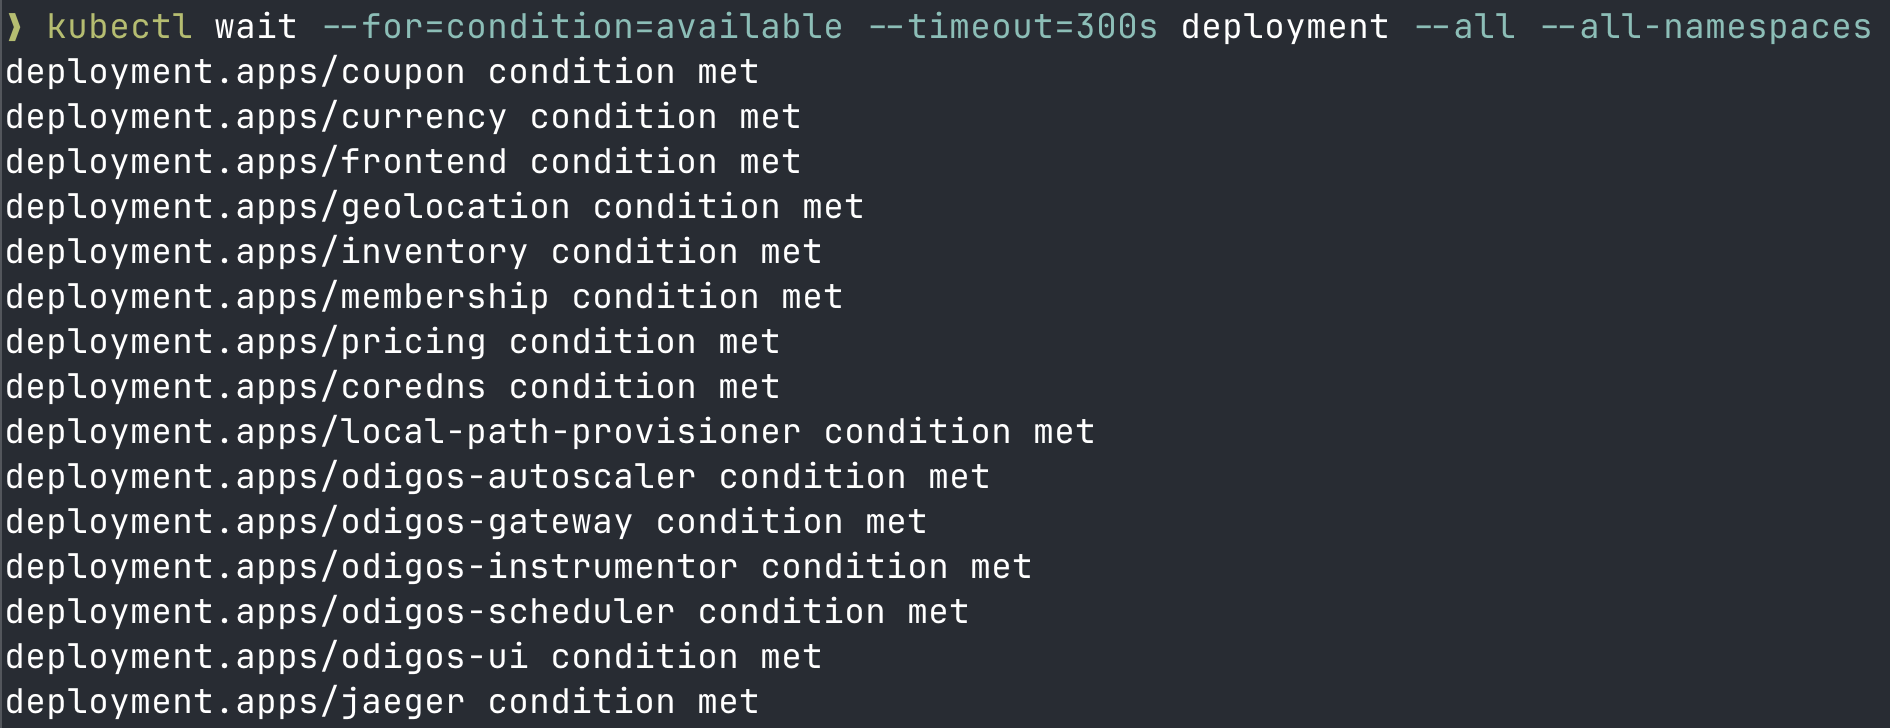
Before moving to the next step, make sure that the application pods and Jaeger pods are running, this may take a few minutes.
```bash theme={null}
kubectl wait --for=condition=available --timeout=300s deployment --all --all-namespaces
```
Deploy the application using the following command:
```bash theme={null}
kubectl apply -f https://raw.githubusercontent.com/odigos-io/simple-demo/main/kubernetes/deployment.yaml
```
### Deploying Jaeger
Jaeger is a popular open source distributed tracing backend. We are going to use it for storing and visualizing the traces generated by Odigos.
Install Jaeger using the following command:
```bash theme={null}
kubectl apply -f https://raw.githubusercontent.com/odigos-io/simple-demo/main/kubernetes/jaeger.yaml
```
### Waiting for the applications to start
Before moving to the next step, make sure that the application pods and Jaeger pods are running, this may take a few minutes.
```bash theme={null}
kubectl wait --for=condition=available --timeout=300s deployment --all --all-namespaces
```