> ## Documentation Index
> Fetch the complete documentation index at: https://docs.odigos.io/llms.txt
> Use this file to discover all available pages before exploring further.
# Custom Instrumentation
> Define custom eBPF-based instrumentations for arbitrary functions in your Java, Go, or C++ application or its dependencies using the VM Agent.
[Custom instrumentation](/vmagent/setup/configuration/instrumentation-rules/overview#custom-instrumentation) lets you define custom eBPF-based instrumentations for specific functions or methods in your application or its dependencies. Unlike automatic instrumentation, which covers common frameworks and libraries, custom instrumentation targets the exact code you choose—for example, a business-critical function or an internal helper that you want to see as a span in your traces. The VM Agent supports **Java**, **Go**, and **C++**. For Go, you can instrument either a **function** (by package and function name) or a **receiver method** (by package, receiver type, and method name); you must use one form or the other, not both. For C++, you target a function by its **signature**.
There are two ways to add a custom instrumentation rule: using `odictl` or using YAML files.
Prefer to find hot functions visually instead of typing class and method names? Use the odictl profiling view to instrument a function straight from a CPU profile. See [Instrument from Profiles](/vmagent/setup/configuration/instrumentation-rules/instrument-from-profiles).
```shell theme={null}
odictl
```
Use `Tab` to cycle to the **Instrumentation Rules** pane, or click it with your mouse. Press `Enter` or click **+ Add Rule** to add a new rule.
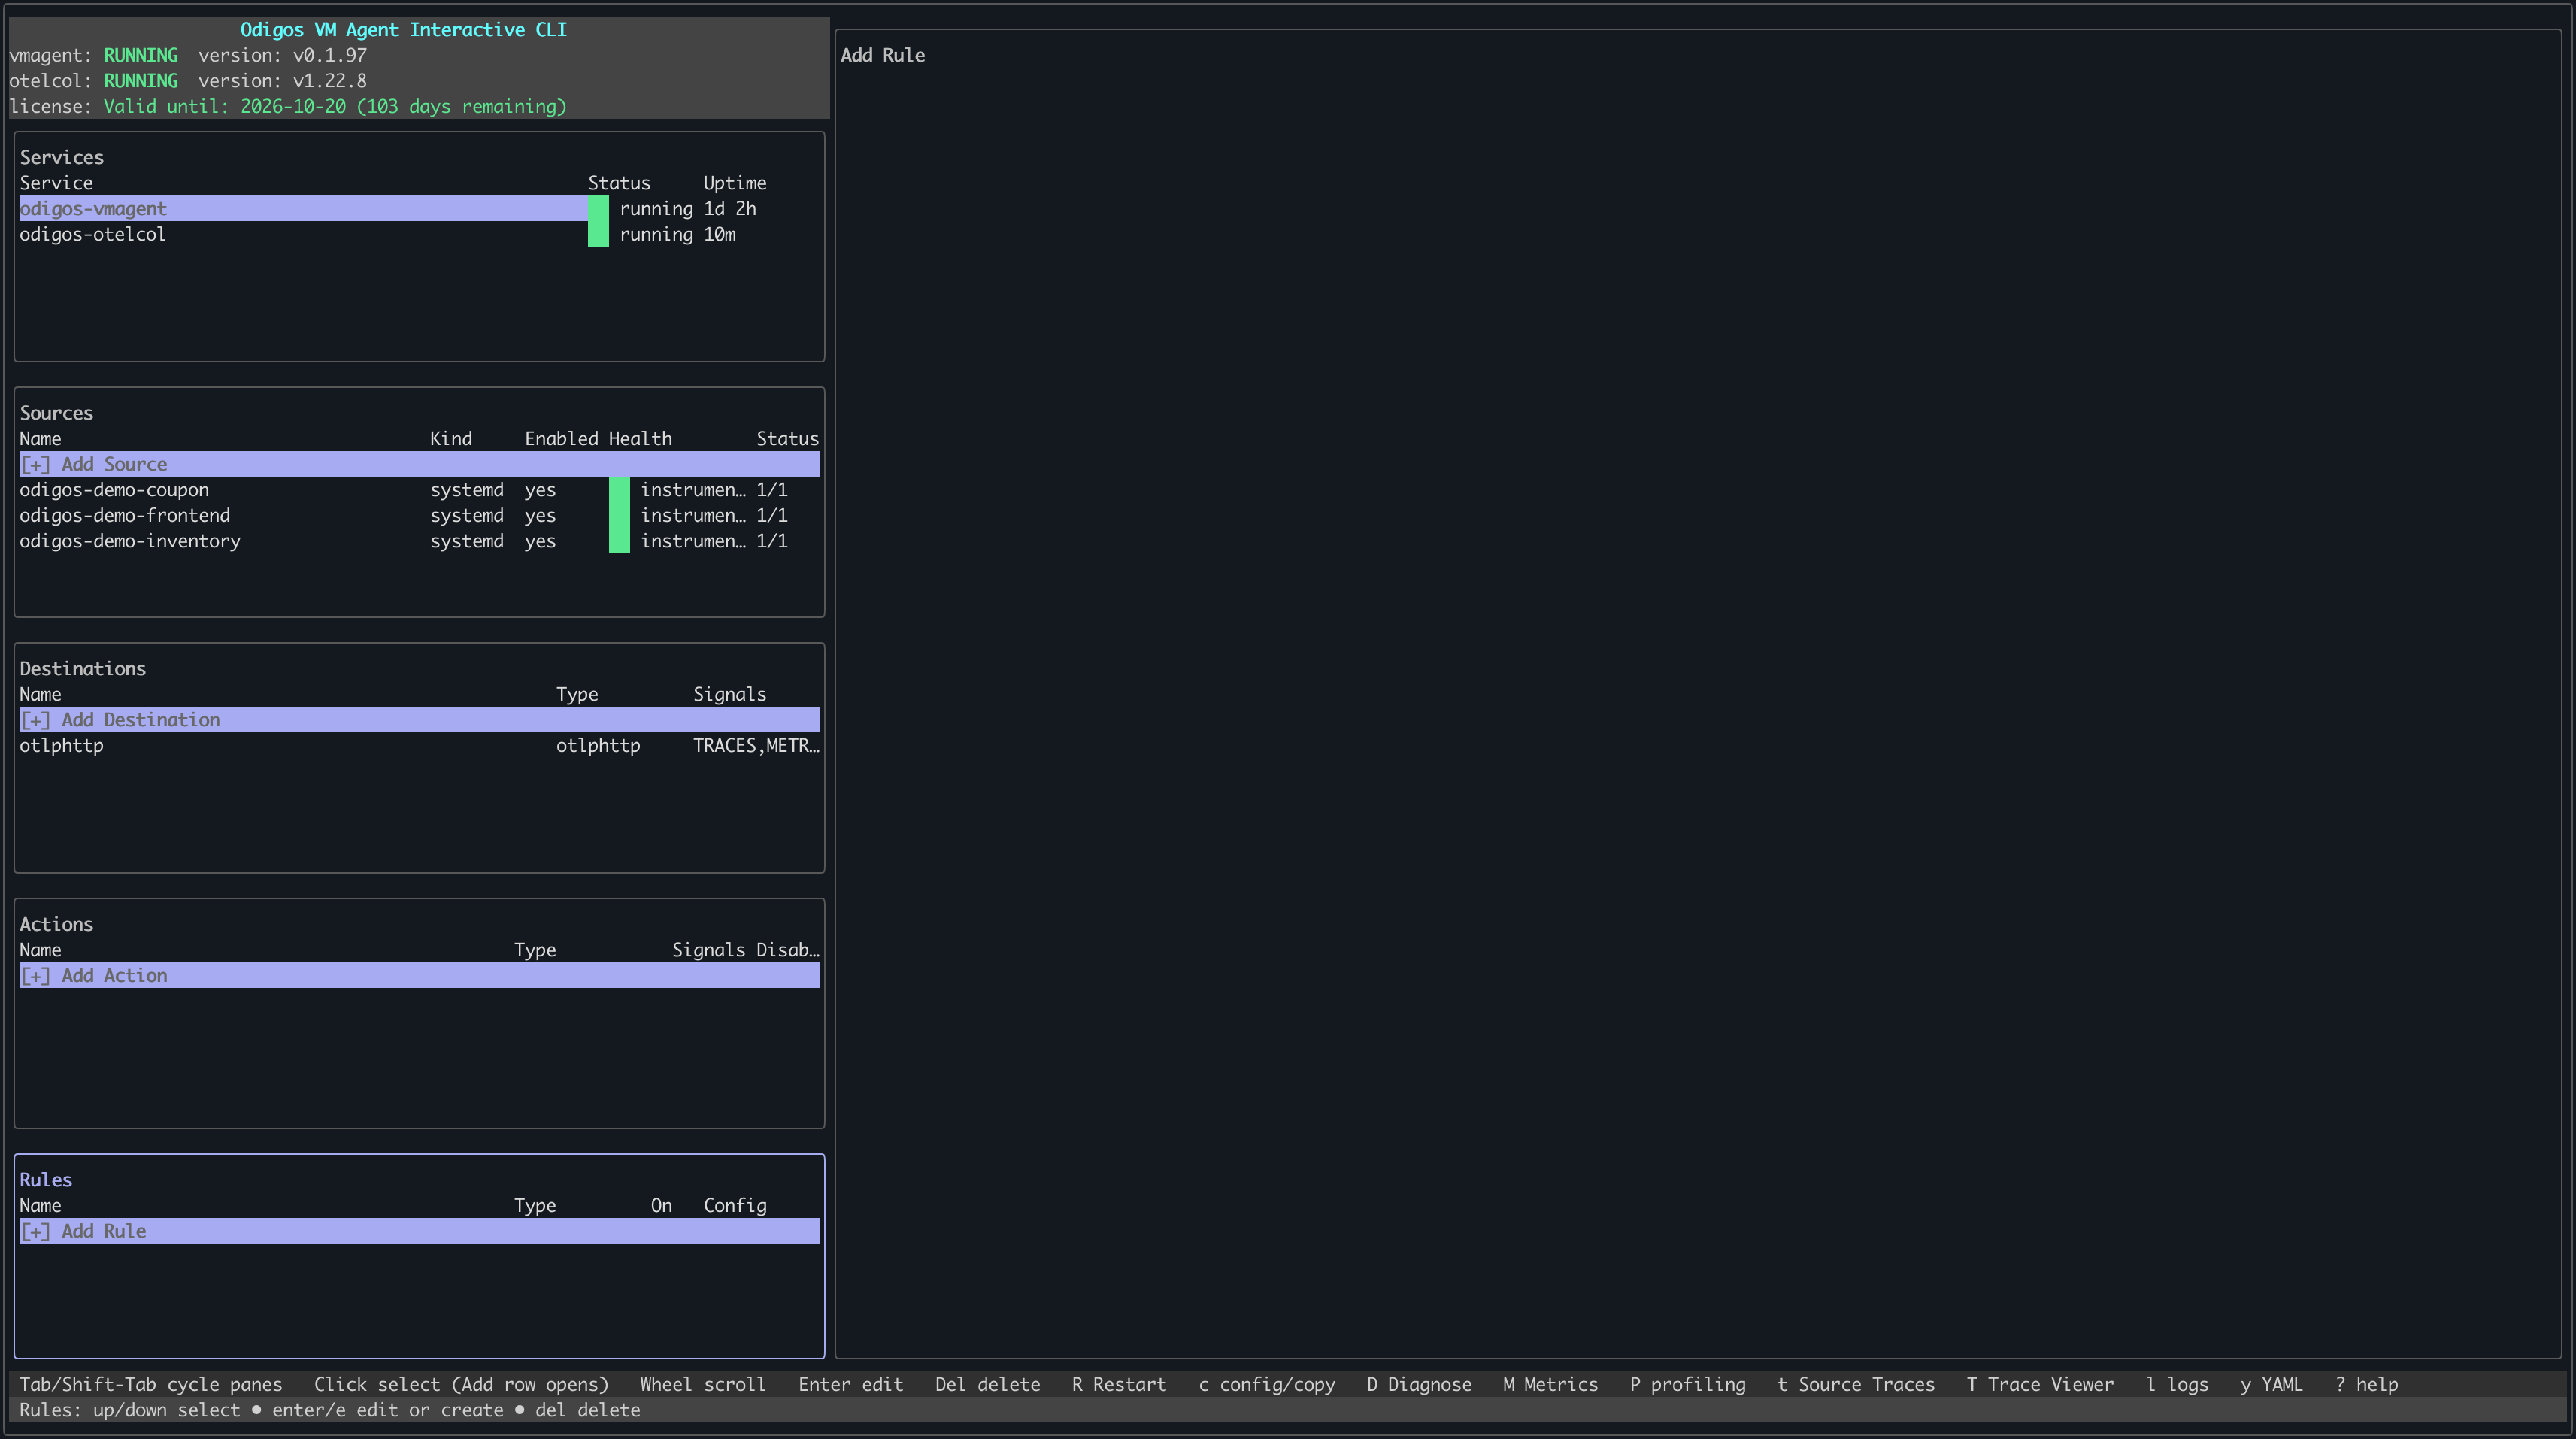 Select **Custom instrumentation** as the rule type and press `Enter`.
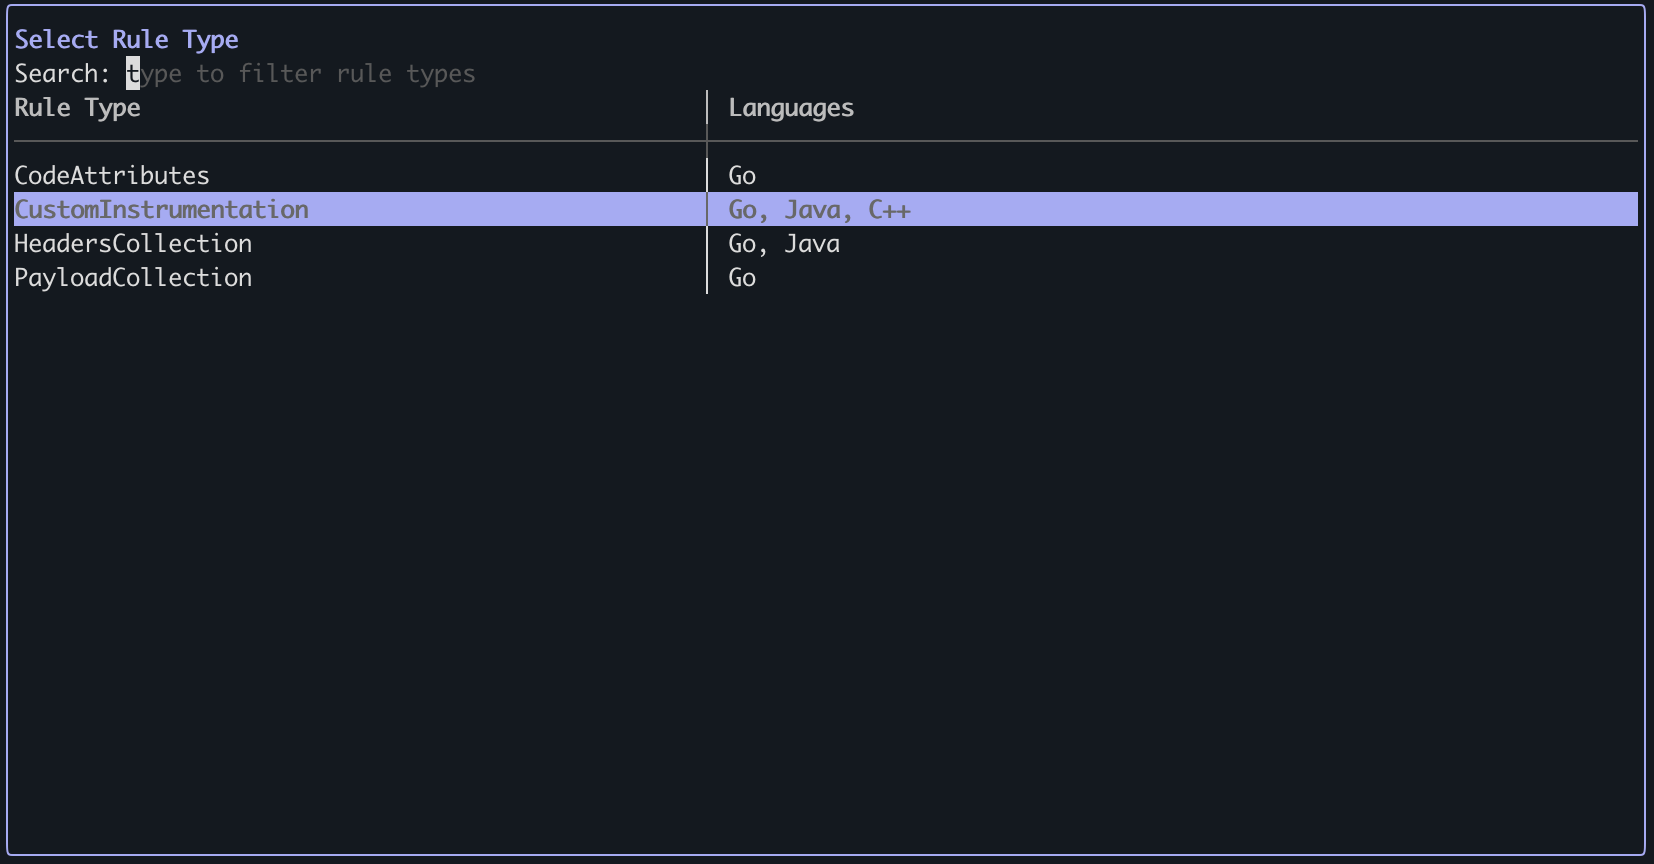 1. Press `i` to enter INSERT mode.
2. For **Java**: set `className` (fully qualified class name) and `methodName` (method name).
3. For **Go function**: set `packageName` and `functionName`. Do not set `receiverName` or `receiverMethodName`.
4. For **Go receiver method**: set `packageName`, `receiverName`, and `receiverMethodName`. Do not set `functionName`.
5. For **C++**: set `signature` (the function signature, for example `std::vector::push_back` or `SSL_write`).
6. When finished, press `Esc`, then type `:wq` to save and exit.
**Examples**
Instrument a method by fully qualified class and method name:
```yaml theme={null}
name: my-custom-instrumentation
type: CustomInstrumentation
config:
java:
- className: "com.example.MyClass"
methodName: "myMethod"
```
Instrument a function by package and function name:
```yaml theme={null}
name: my-custom-instrumentation
type: CustomInstrumentation
config:
golang:
- packageName: "github.com/example/ecommerce"
functionName: "ProcessOrder"
```
Instrument a method by package, receiver type, and method name:
```yaml theme={null}
name: my-custom-instrumentation
type: CustomInstrumentation
config:
golang:
- packageName: "github.com/example/ecommerce"
receiverName: "OrderProcessor"
receiverMethodName: "ProcessOrder"
```
Instrument a function by its signature:
```yaml theme={null}
name: my-custom-instrumentation
type: CustomInstrumentation
config:
cpp:
- signature: "ecommerce::OrderProcessor::processOrder"
```
The `java:`, `golang:`, and `cpp:` keys accept a list; add multiple entries to instrument several methods or functions in one rule. Use only one language per rule (do not combine `java:`, `golang:`, and `cpp:`). For Go, use either functions or receiver methods in a single rule, not both.
To cancel, press `Esc` if in INSERT mode, then type `:q!` to exit without saving.
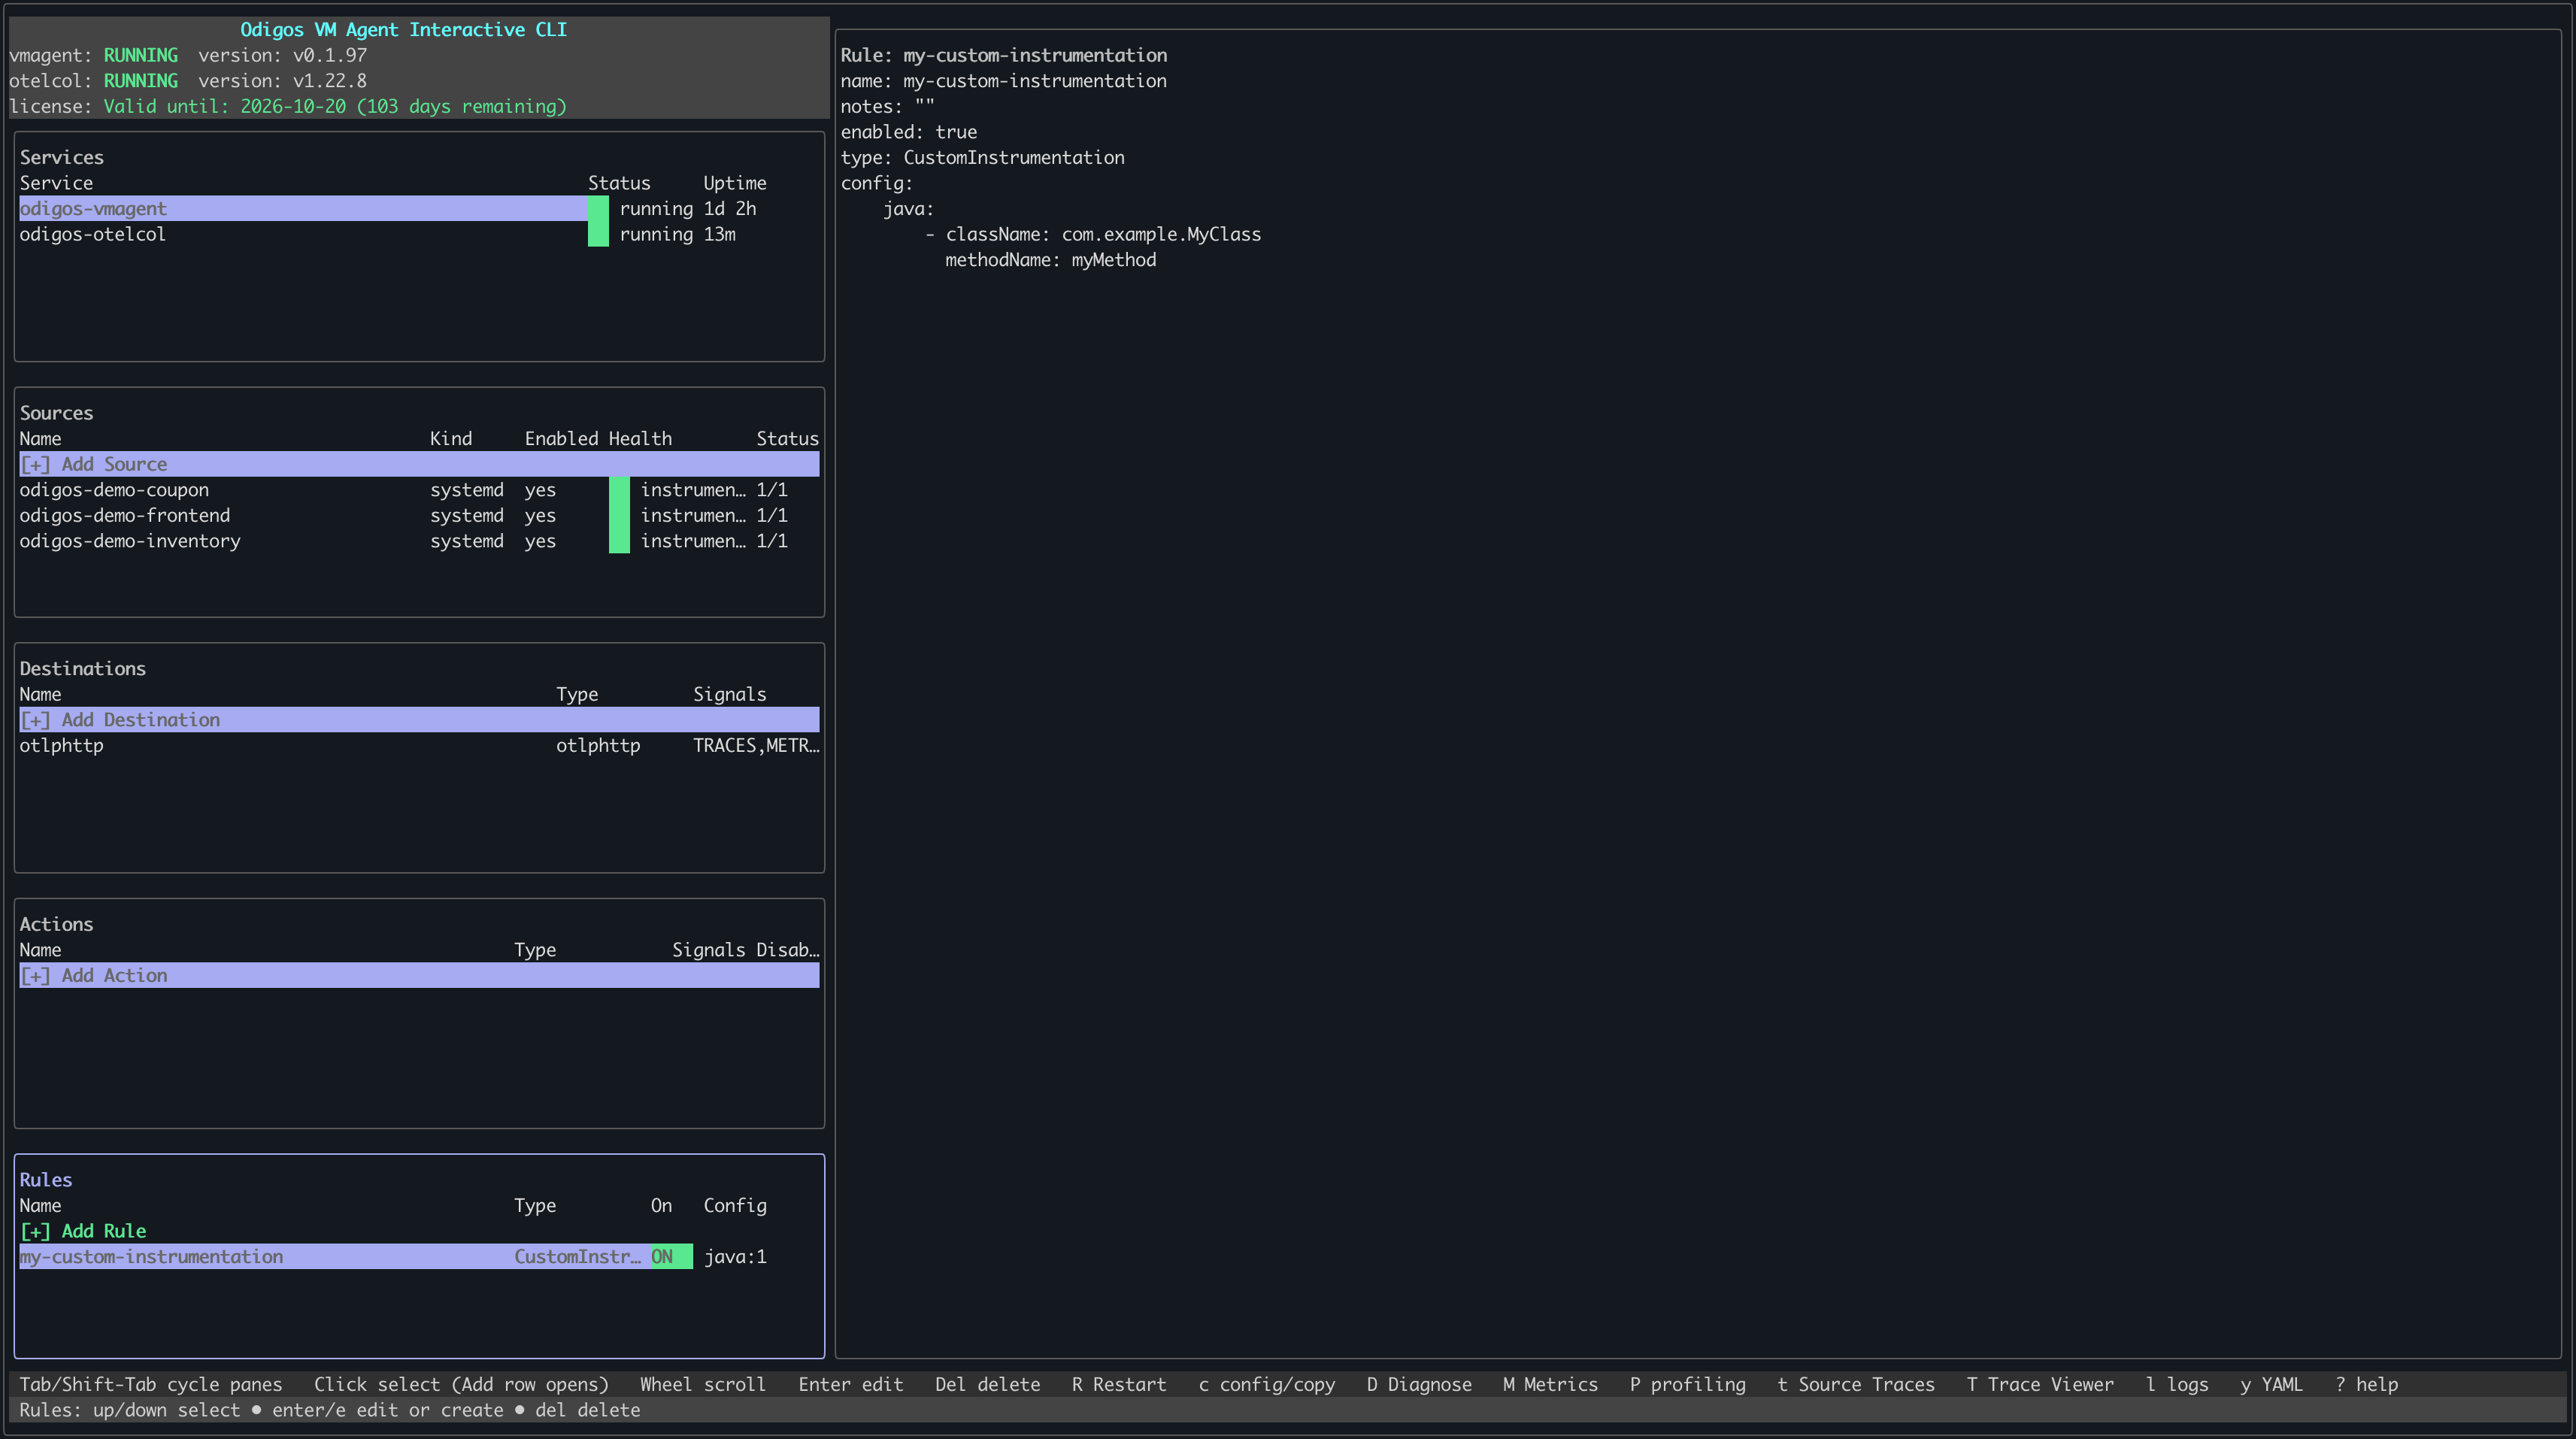
The rule appears in the **Rules** list.
1. Press `i` to enter INSERT mode.
2. For **Java**: set `className` (fully qualified class name) and `methodName` (method name).
3. For **Go function**: set `packageName` and `functionName`. Do not set `receiverName` or `receiverMethodName`.
4. For **Go receiver method**: set `packageName`, `receiverName`, and `receiverMethodName`. Do not set `functionName`.
5. For **C++**: set `signature` (the function signature, for example `std::vector::push_back` or `SSL_write`).
6. When finished, press `Esc`, then type `:wq` to save and exit.
**Examples**
Instrument a method by fully qualified class and method name:
```yaml theme={null}
name: my-custom-instrumentation
type: CustomInstrumentation
config:
java:
- className: "com.example.MyClass"
methodName: "myMethod"
```
Instrument a function by package and function name:
```yaml theme={null}
name: my-custom-instrumentation
type: CustomInstrumentation
config:
golang:
- packageName: "github.com/example/ecommerce"
functionName: "ProcessOrder"
```
Instrument a method by package, receiver type, and method name:
```yaml theme={null}
name: my-custom-instrumentation
type: CustomInstrumentation
config:
golang:
- packageName: "github.com/example/ecommerce"
receiverName: "OrderProcessor"
receiverMethodName: "ProcessOrder"
```
Instrument a function by its signature:
```yaml theme={null}
name: my-custom-instrumentation
type: CustomInstrumentation
config:
cpp:
- signature: "ecommerce::OrderProcessor::processOrder"
```
The `java:`, `golang:`, and `cpp:` keys accept a list; add multiple entries to instrument several methods or functions in one rule. Use only one language per rule (do not combine `java:`, `golang:`, and `cpp:`). For Go, use either functions or receiver methods in a single rule, not both.
To cancel, press `Esc` if in INSERT mode, then type `:q!` to exit without saving.
The rule appears in the **Rules** list.
 ```shell theme={null}
cd /etc/odigos-vmagent/rules.d
```
Create a YAML file for your custom instrumentation rule. The example below uses [vi](https://en.wikipedia.org/wiki/Vi).
```shell theme={null}
sudo vi custom-instrumentation.yaml
```
Add a rule with `CustomInstrumentation` and one of `java`, `golang`, or `cpp`. For Go, use either a **function** (package + functionName) or a **receiver method** (package + receiverName + receiverMethodName), not both.
```yaml theme={null}
name: custom-instrumentation
type: CustomInstrumentation
config:
java:
- className: "com.example.ecommerce.OrderService"
methodName: "processOrder"
```
```yaml theme={null}
name: custom-instrumentation
type: CustomInstrumentation
config:
golang:
- packageName: "github.com/example/ecommerce"
functionName: "ProcessOrder"
```
```yaml theme={null}
name: custom-instrumentation
type: CustomInstrumentation
config:
golang:
- packageName: "github.com/example/ecommerce"
receiverName: "OrderProcessor"
receiverMethodName: "ProcessOrder"
```
```yaml theme={null}
name: custom-instrumentation
type: CustomInstrumentation
config:
cpp:
- signature: "ecommerce::OrderProcessor::processOrder"
```
```shell theme={null}
:wq!
```
```shell theme={null}
sudo journalctl -u odigos-vmagent | grep -i rules
```
```
Mar 16 21:49:38 ip-10-0-1-51 odigos-vmagent[36872]: {"level":"info","ts":"2026-03-16T21:49:38.580Z","caller":"logger/logger.go:177","msg":"Publishing rules snapshot","component":"vm-agent","controller":"rules","files":4,"total_rules":4}
Mar 16 21:49:38 ip-10-0-1-51 odigos-vmagent[36872]: {"level":"info","ts":"2026-03-16T21:49:38.580Z","caller":"logger/logger.go:177","msg":"Received RulesChange update","component":"vm-agent","controller":"coordinator","rules":4,"has_rules":true}
```
```shell theme={null}
cd /etc/odigos-vmagent/rules.d
```
Create a YAML file for your custom instrumentation rule. The example below uses [vi](https://en.wikipedia.org/wiki/Vi).
```shell theme={null}
sudo vi custom-instrumentation.yaml
```
Add a rule with `CustomInstrumentation` and one of `java`, `golang`, or `cpp`. For Go, use either a **function** (package + functionName) or a **receiver method** (package + receiverName + receiverMethodName), not both.
```yaml theme={null}
name: custom-instrumentation
type: CustomInstrumentation
config:
java:
- className: "com.example.ecommerce.OrderService"
methodName: "processOrder"
```
```yaml theme={null}
name: custom-instrumentation
type: CustomInstrumentation
config:
golang:
- packageName: "github.com/example/ecommerce"
functionName: "ProcessOrder"
```
```yaml theme={null}
name: custom-instrumentation
type: CustomInstrumentation
config:
golang:
- packageName: "github.com/example/ecommerce"
receiverName: "OrderProcessor"
receiverMethodName: "ProcessOrder"
```
```yaml theme={null}
name: custom-instrumentation
type: CustomInstrumentation
config:
cpp:
- signature: "ecommerce::OrderProcessor::processOrder"
```
```shell theme={null}
:wq!
```
```shell theme={null}
sudo journalctl -u odigos-vmagent | grep -i rules
```
```
Mar 16 21:49:38 ip-10-0-1-51 odigos-vmagent[36872]: {"level":"info","ts":"2026-03-16T21:49:38.580Z","caller":"logger/logger.go:177","msg":"Publishing rules snapshot","component":"vm-agent","controller":"rules","files":4,"total_rules":4}
Mar 16 21:49:38 ip-10-0-1-51 odigos-vmagent[36872]: {"level":"info","ts":"2026-03-16T21:49:38.580Z","caller":"logger/logger.go:177","msg":"Received RulesChange update","component":"vm-agent","controller":"coordinator","rules":4,"has_rules":true}
```