This guide is designed for:
- IT professionals with experience in system administration or DevOps
- Software engineers familiar with containerization and Kubernetes concepts
- Anyone comfortable with command-line interfaces and basic cloud infrastructure
Preparing the environment
Creating a Kubernetes cluster
This first step is to create a Kubernetes cluster. We recommend using kind or minikube for trying Odigos out in a local environment. Create a new local Kubernetes cluster, by running the following command:- Kind
- Minikube
Deploying the target application
We are going to install a demo application that consists of 6 microservices written in Java, Go, Python, Node.js, .NET and PHP.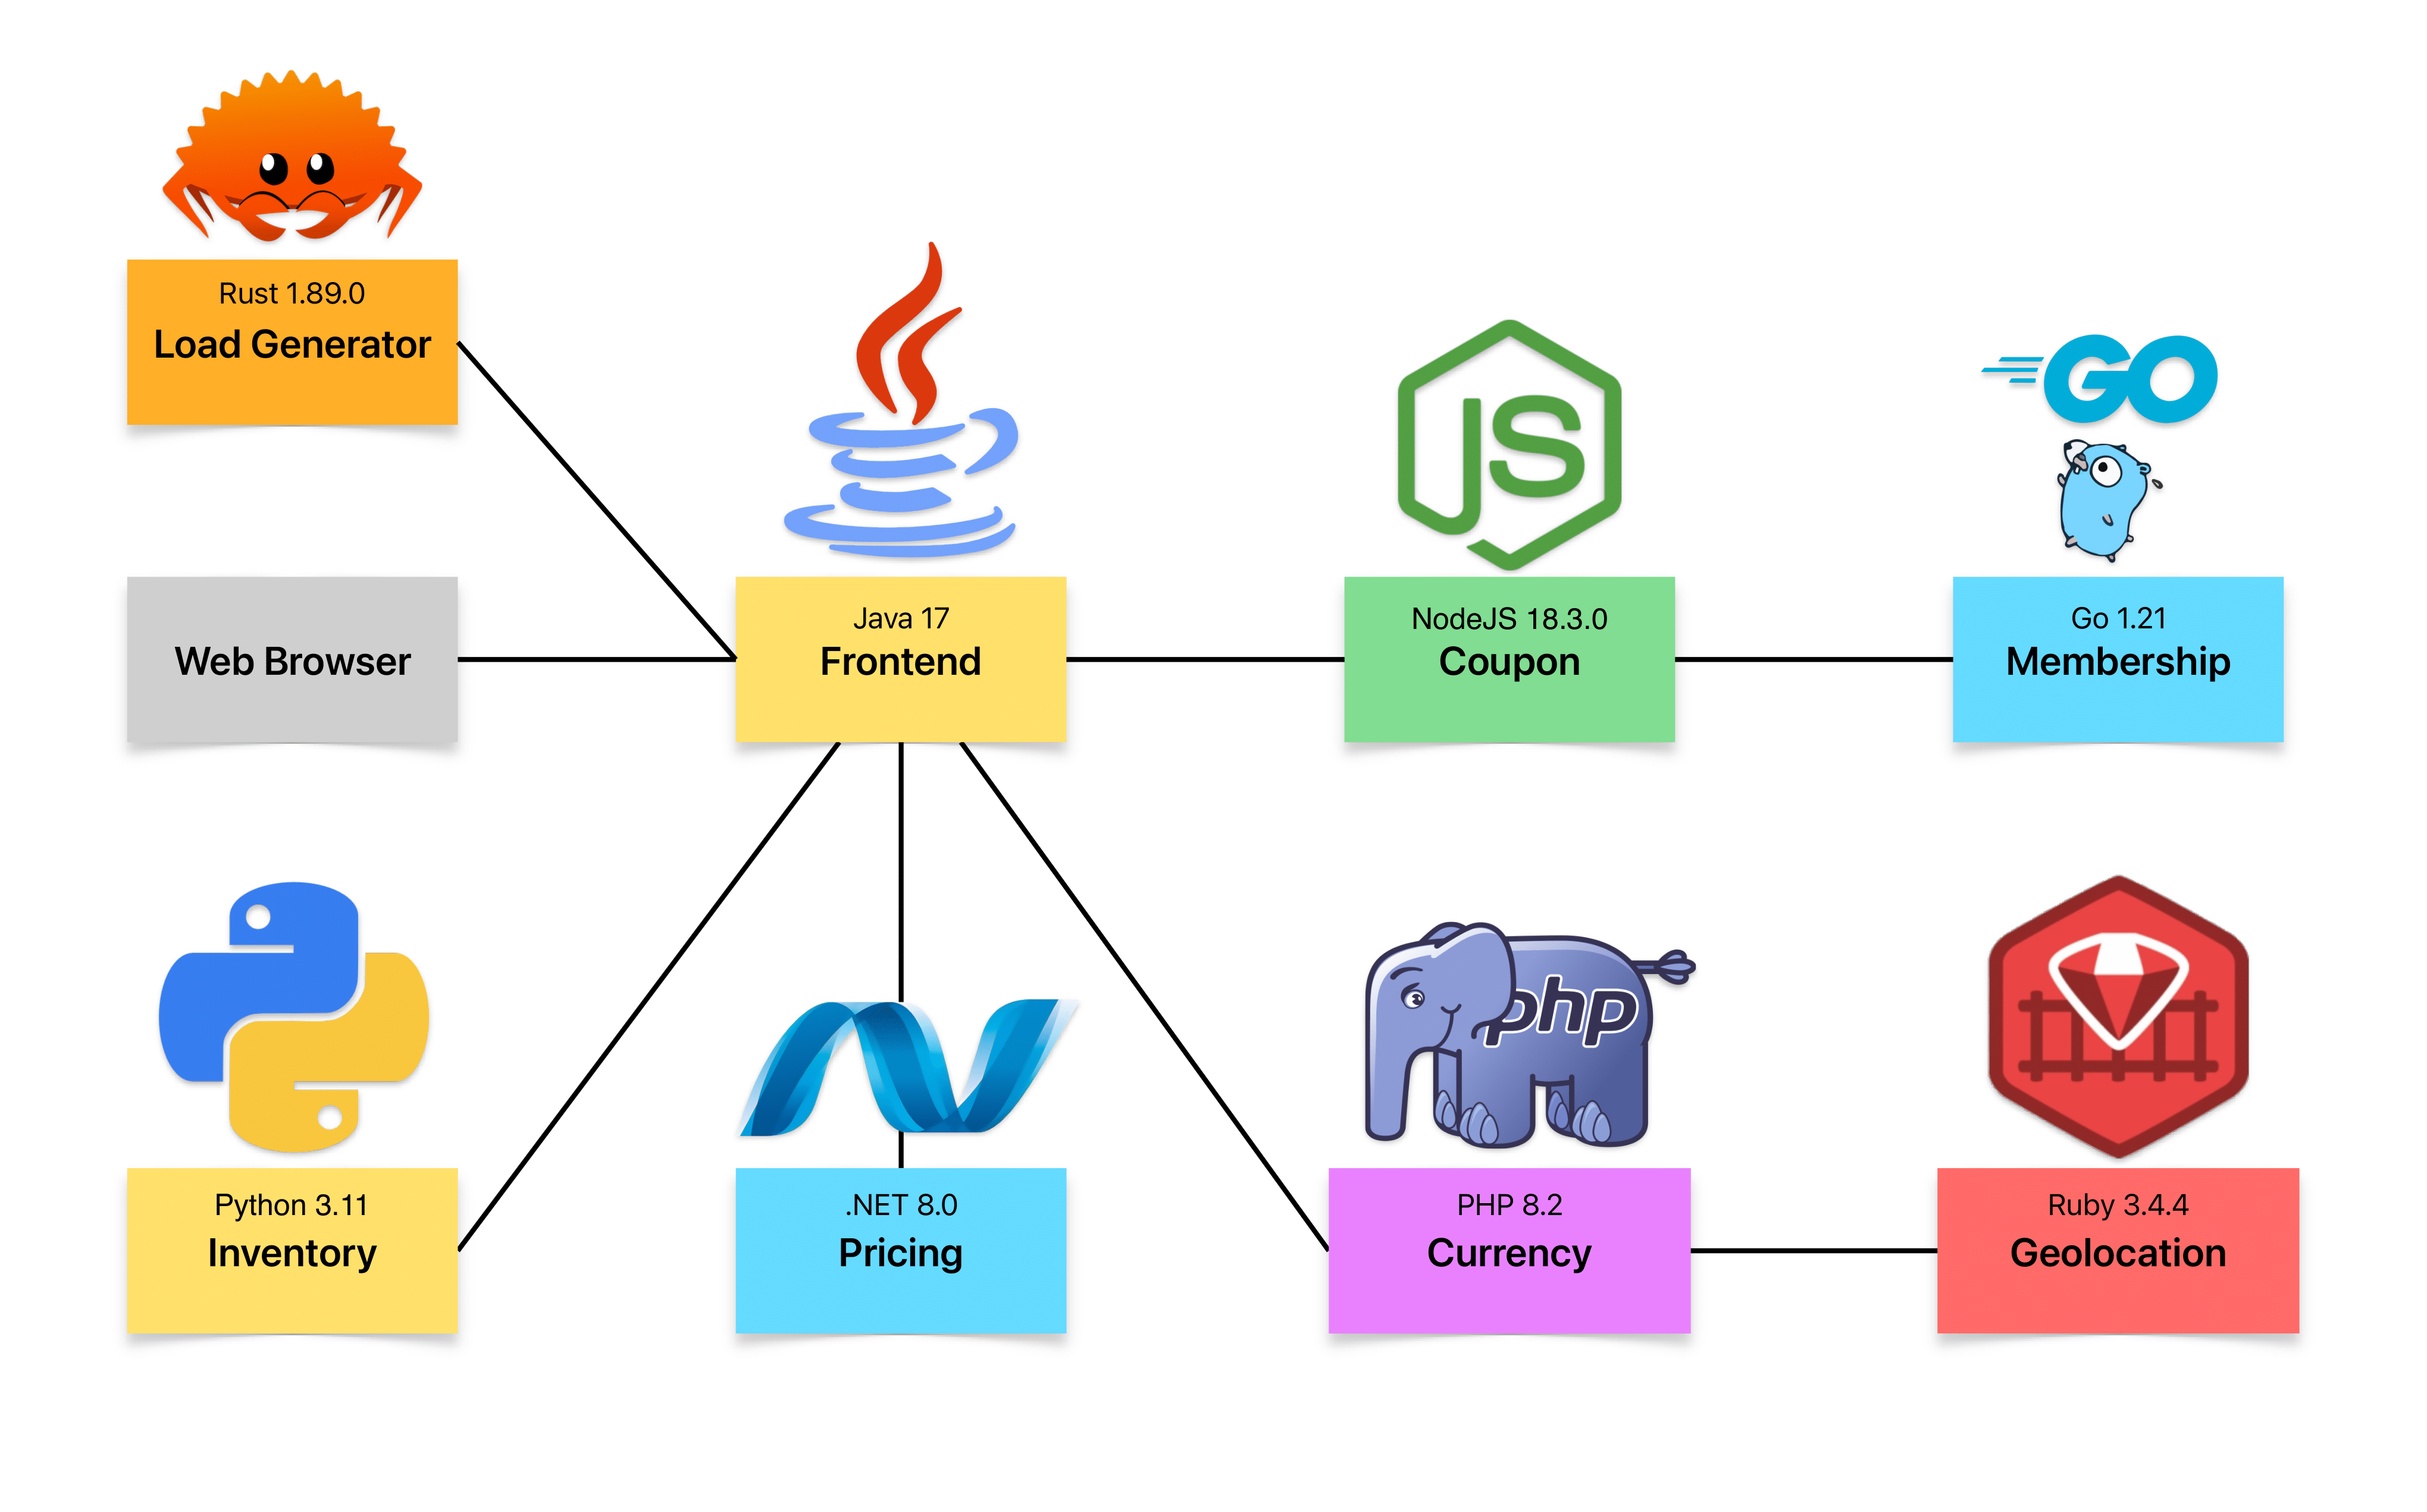
Deploying Jaeger
Jaeger is a popular open source distributed tracing backend. We are going to use it for storing and visualizing the traces generated by Odigos. Install Jaeger using the following command:Waiting for the applications to start
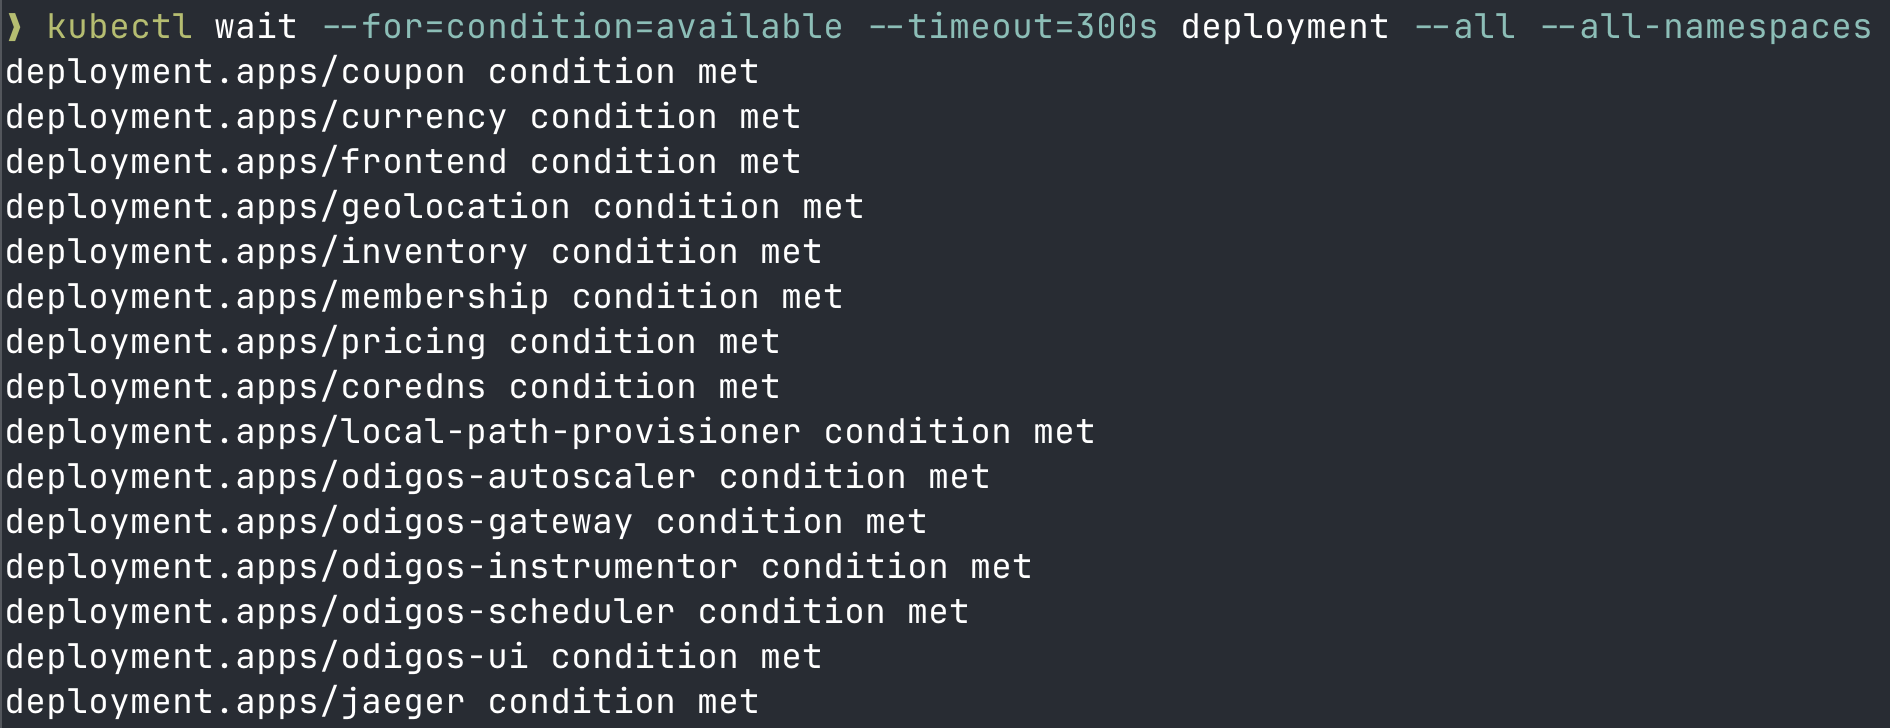
Before moving to the next step, make sure that the application pods and Jaeger pods are running, this may take a few minutes.