Ignore Namespaces
Don’t show specific uninteresting namespaces in the Odigos UI. Default values:kube-system, local-path-storage, istio-system, linkerd, kube-node-lease
Add additional namespaces to ignore with cli:
Ignore Containers
This option is useful for excluding specific sidecar containers from being instrumentated by odigos. Default values:istio-proxy
- Odigos CLI
- Helm Chart
Custom Container Runtime Socket Path
Odigos uses the container runtime socket to query for application environment variables info, and distinguish between those injected by the runtime (via Dockerfile for example) and those defined in Kubernetes manifests. To perform this analysis, Odiglet requires access to the container runtime’s Unix socket (e.g.,containerd.sock). However, in certain environments—such as Rancher—the socket may not be located in a default path.
To address this, Odigos provides a configuration option to mount a custom container runtime socket path into the Odiglet. This path can be specified either during installation or afterwards.
Usage
- Odigos CLI
- Helm Chart
- During and Post installation using set flag for the install command:
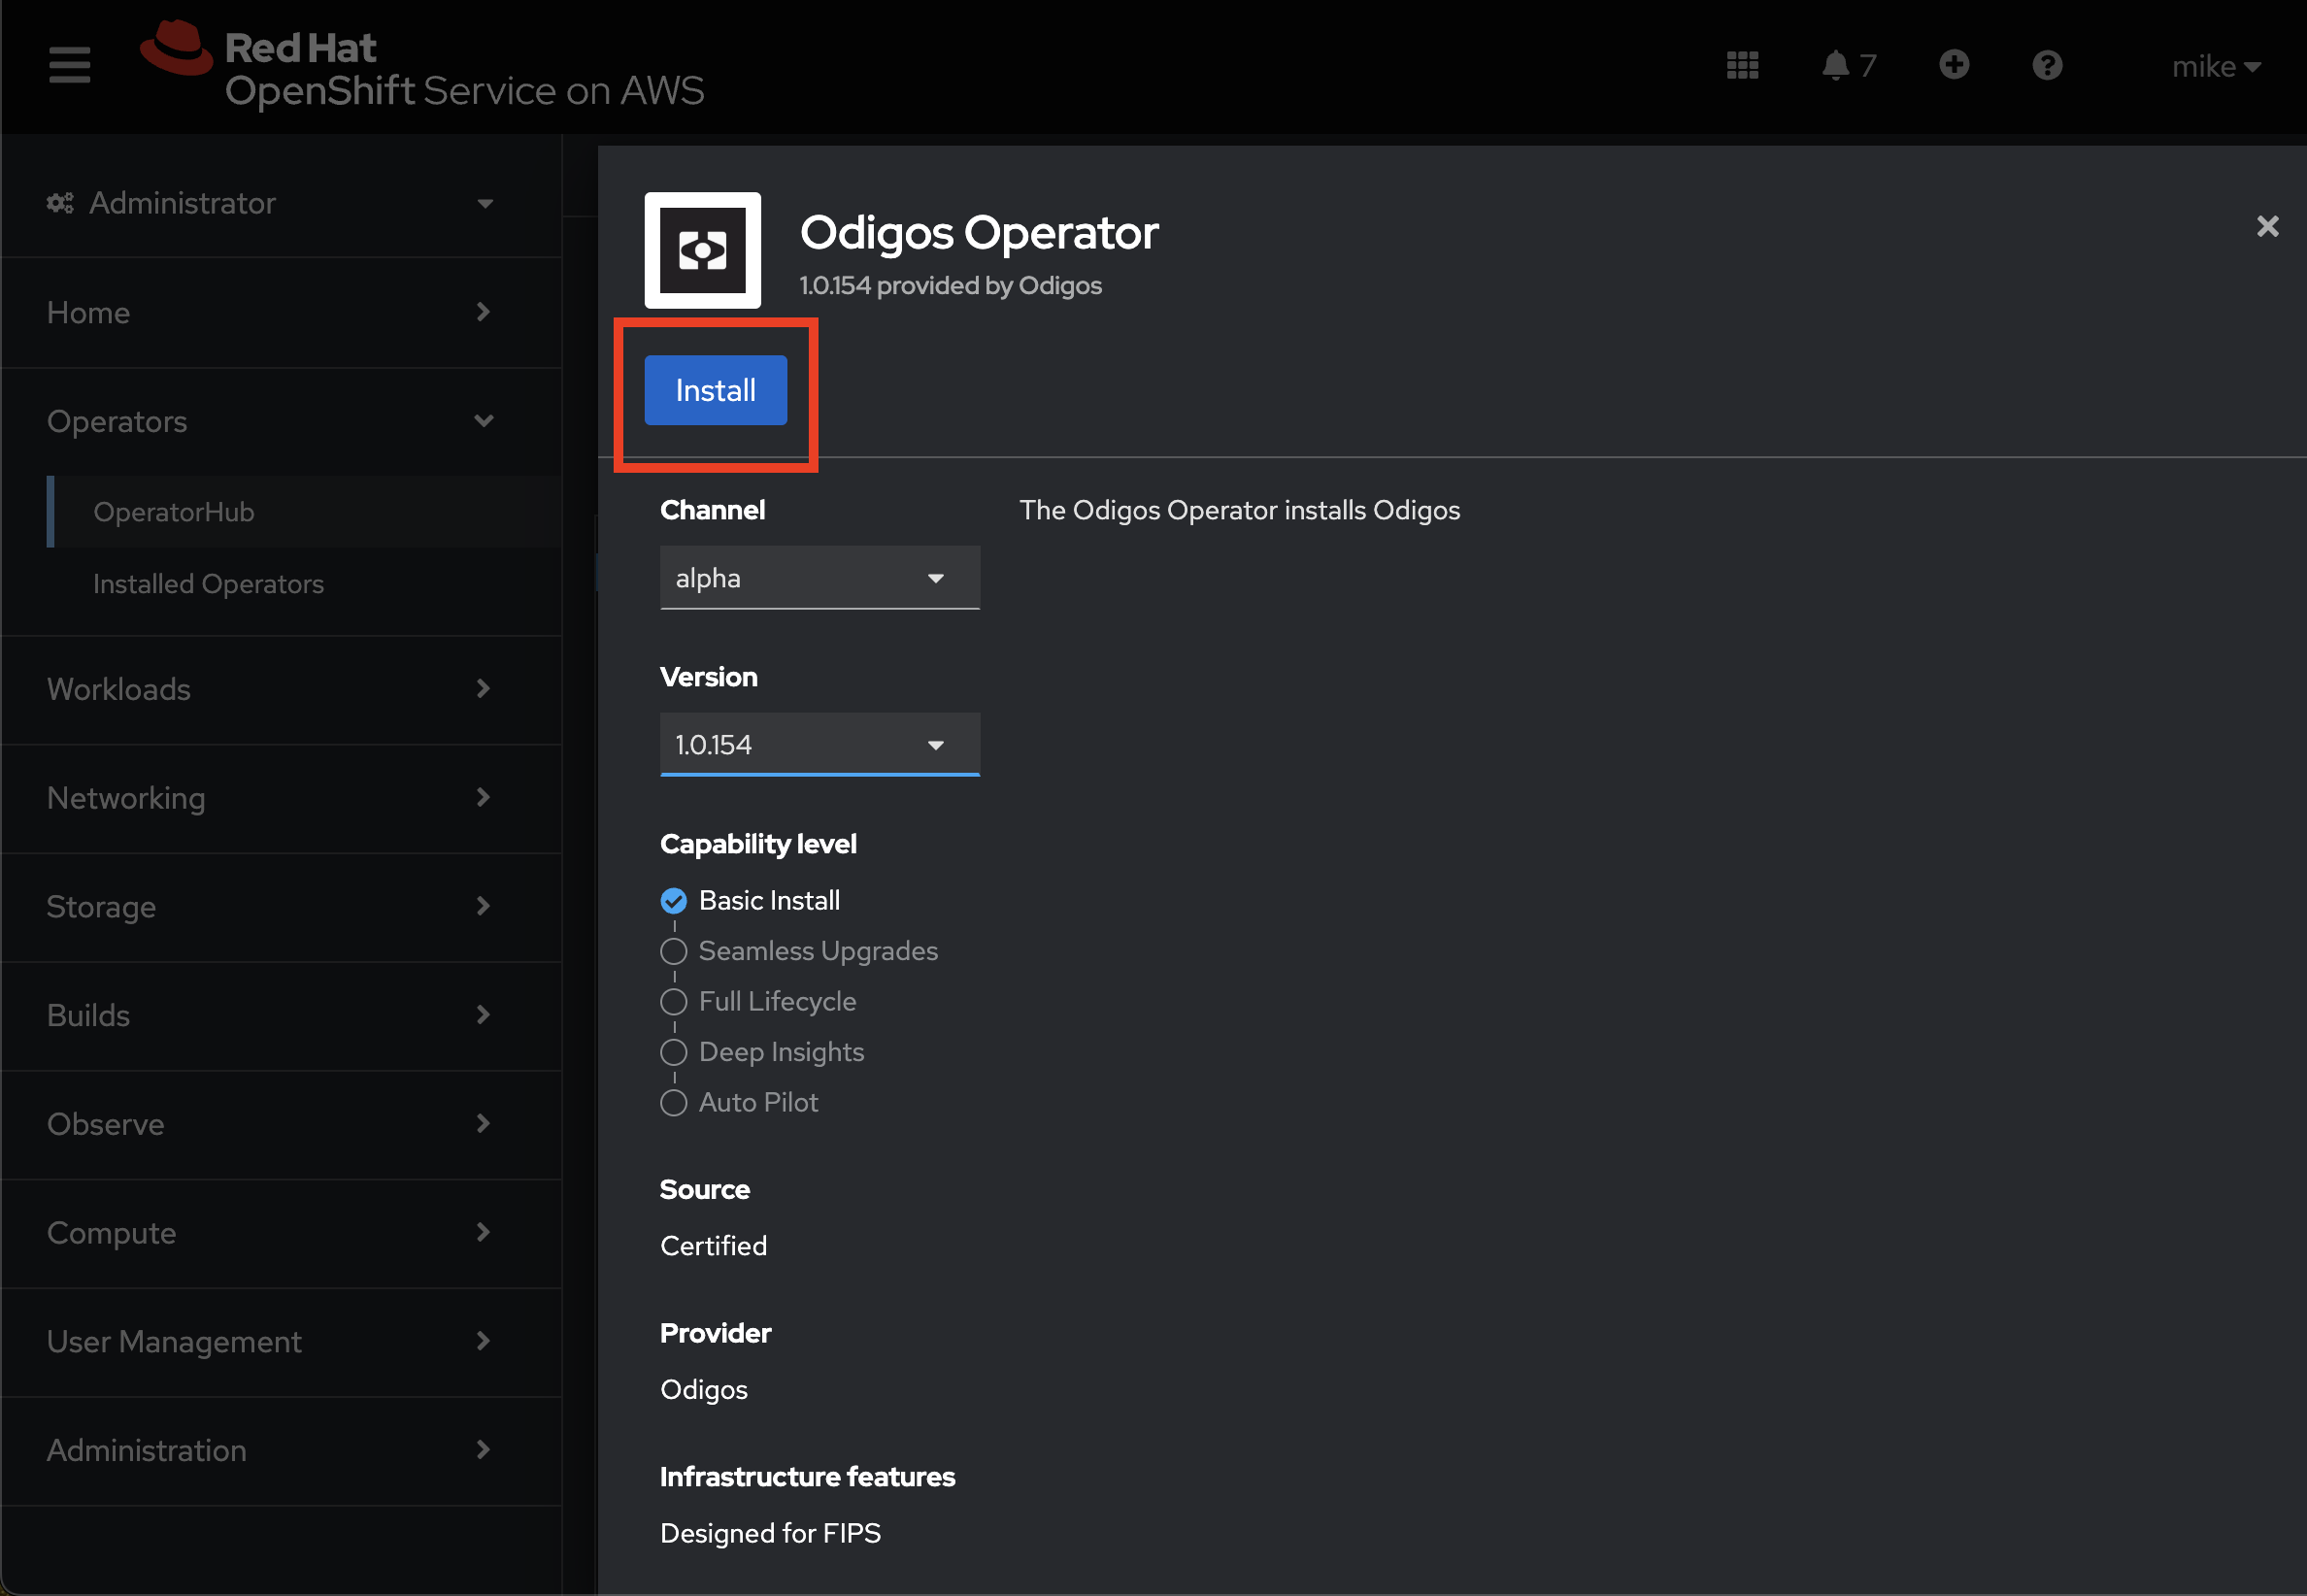
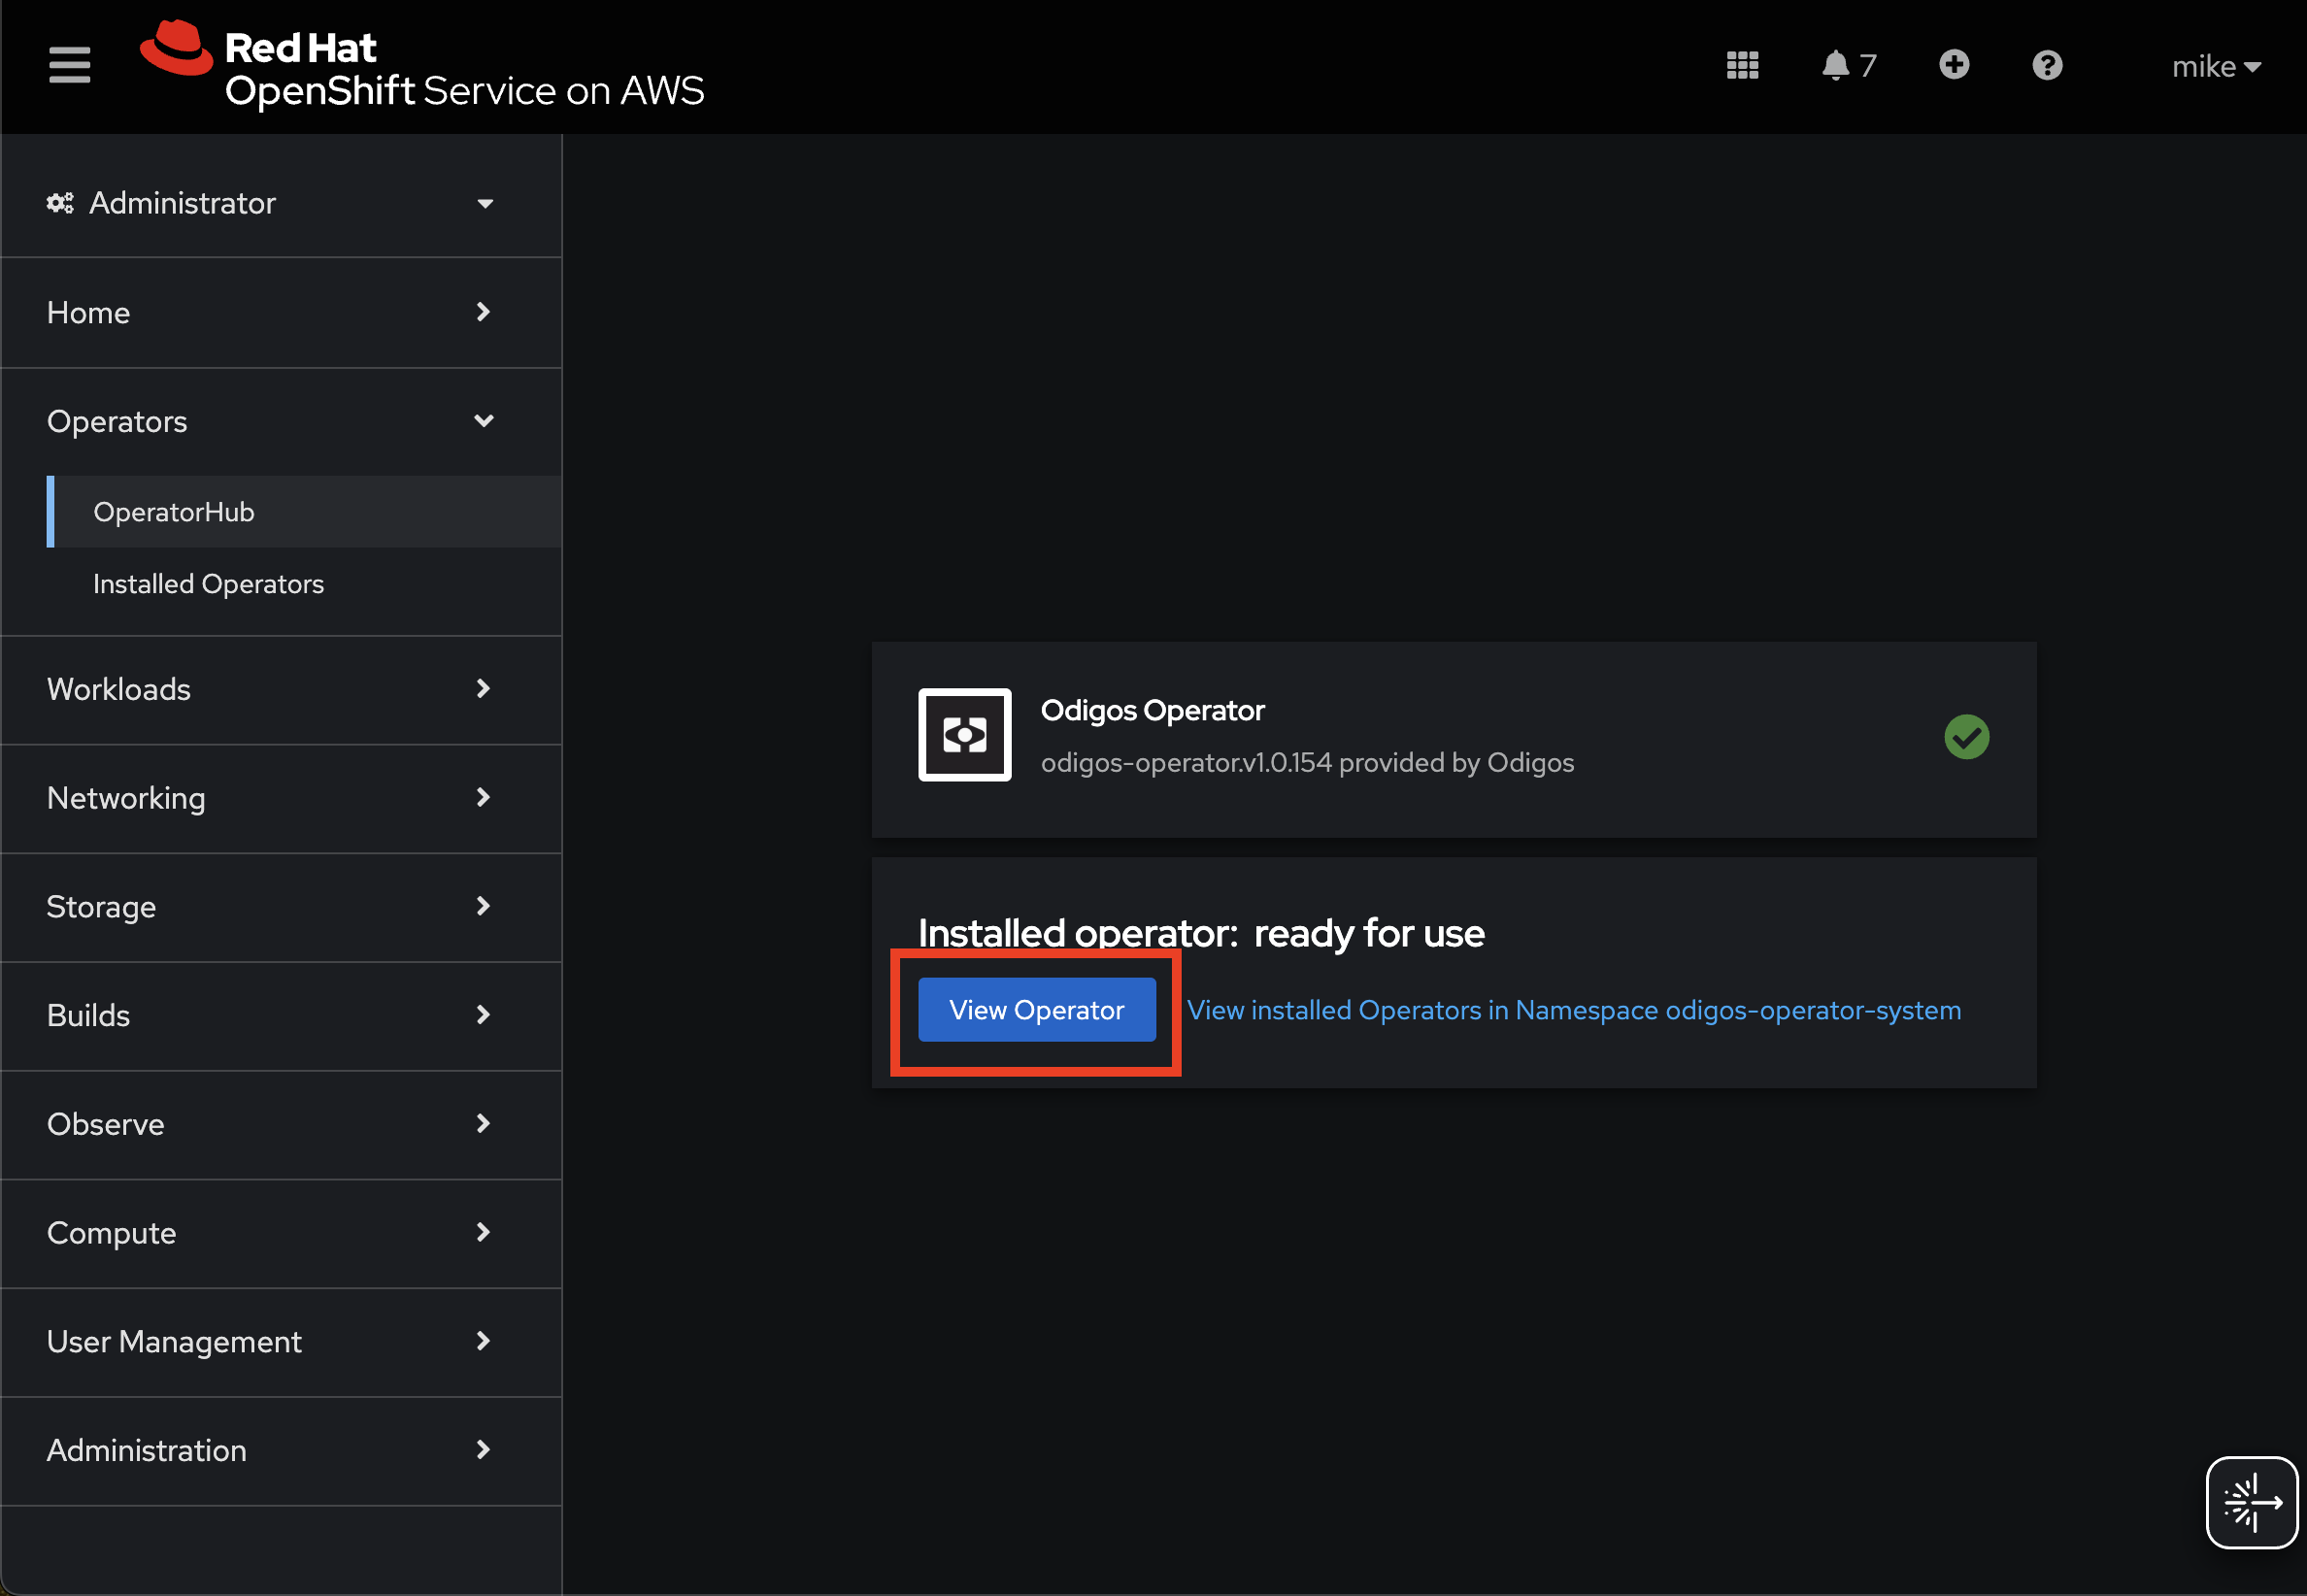
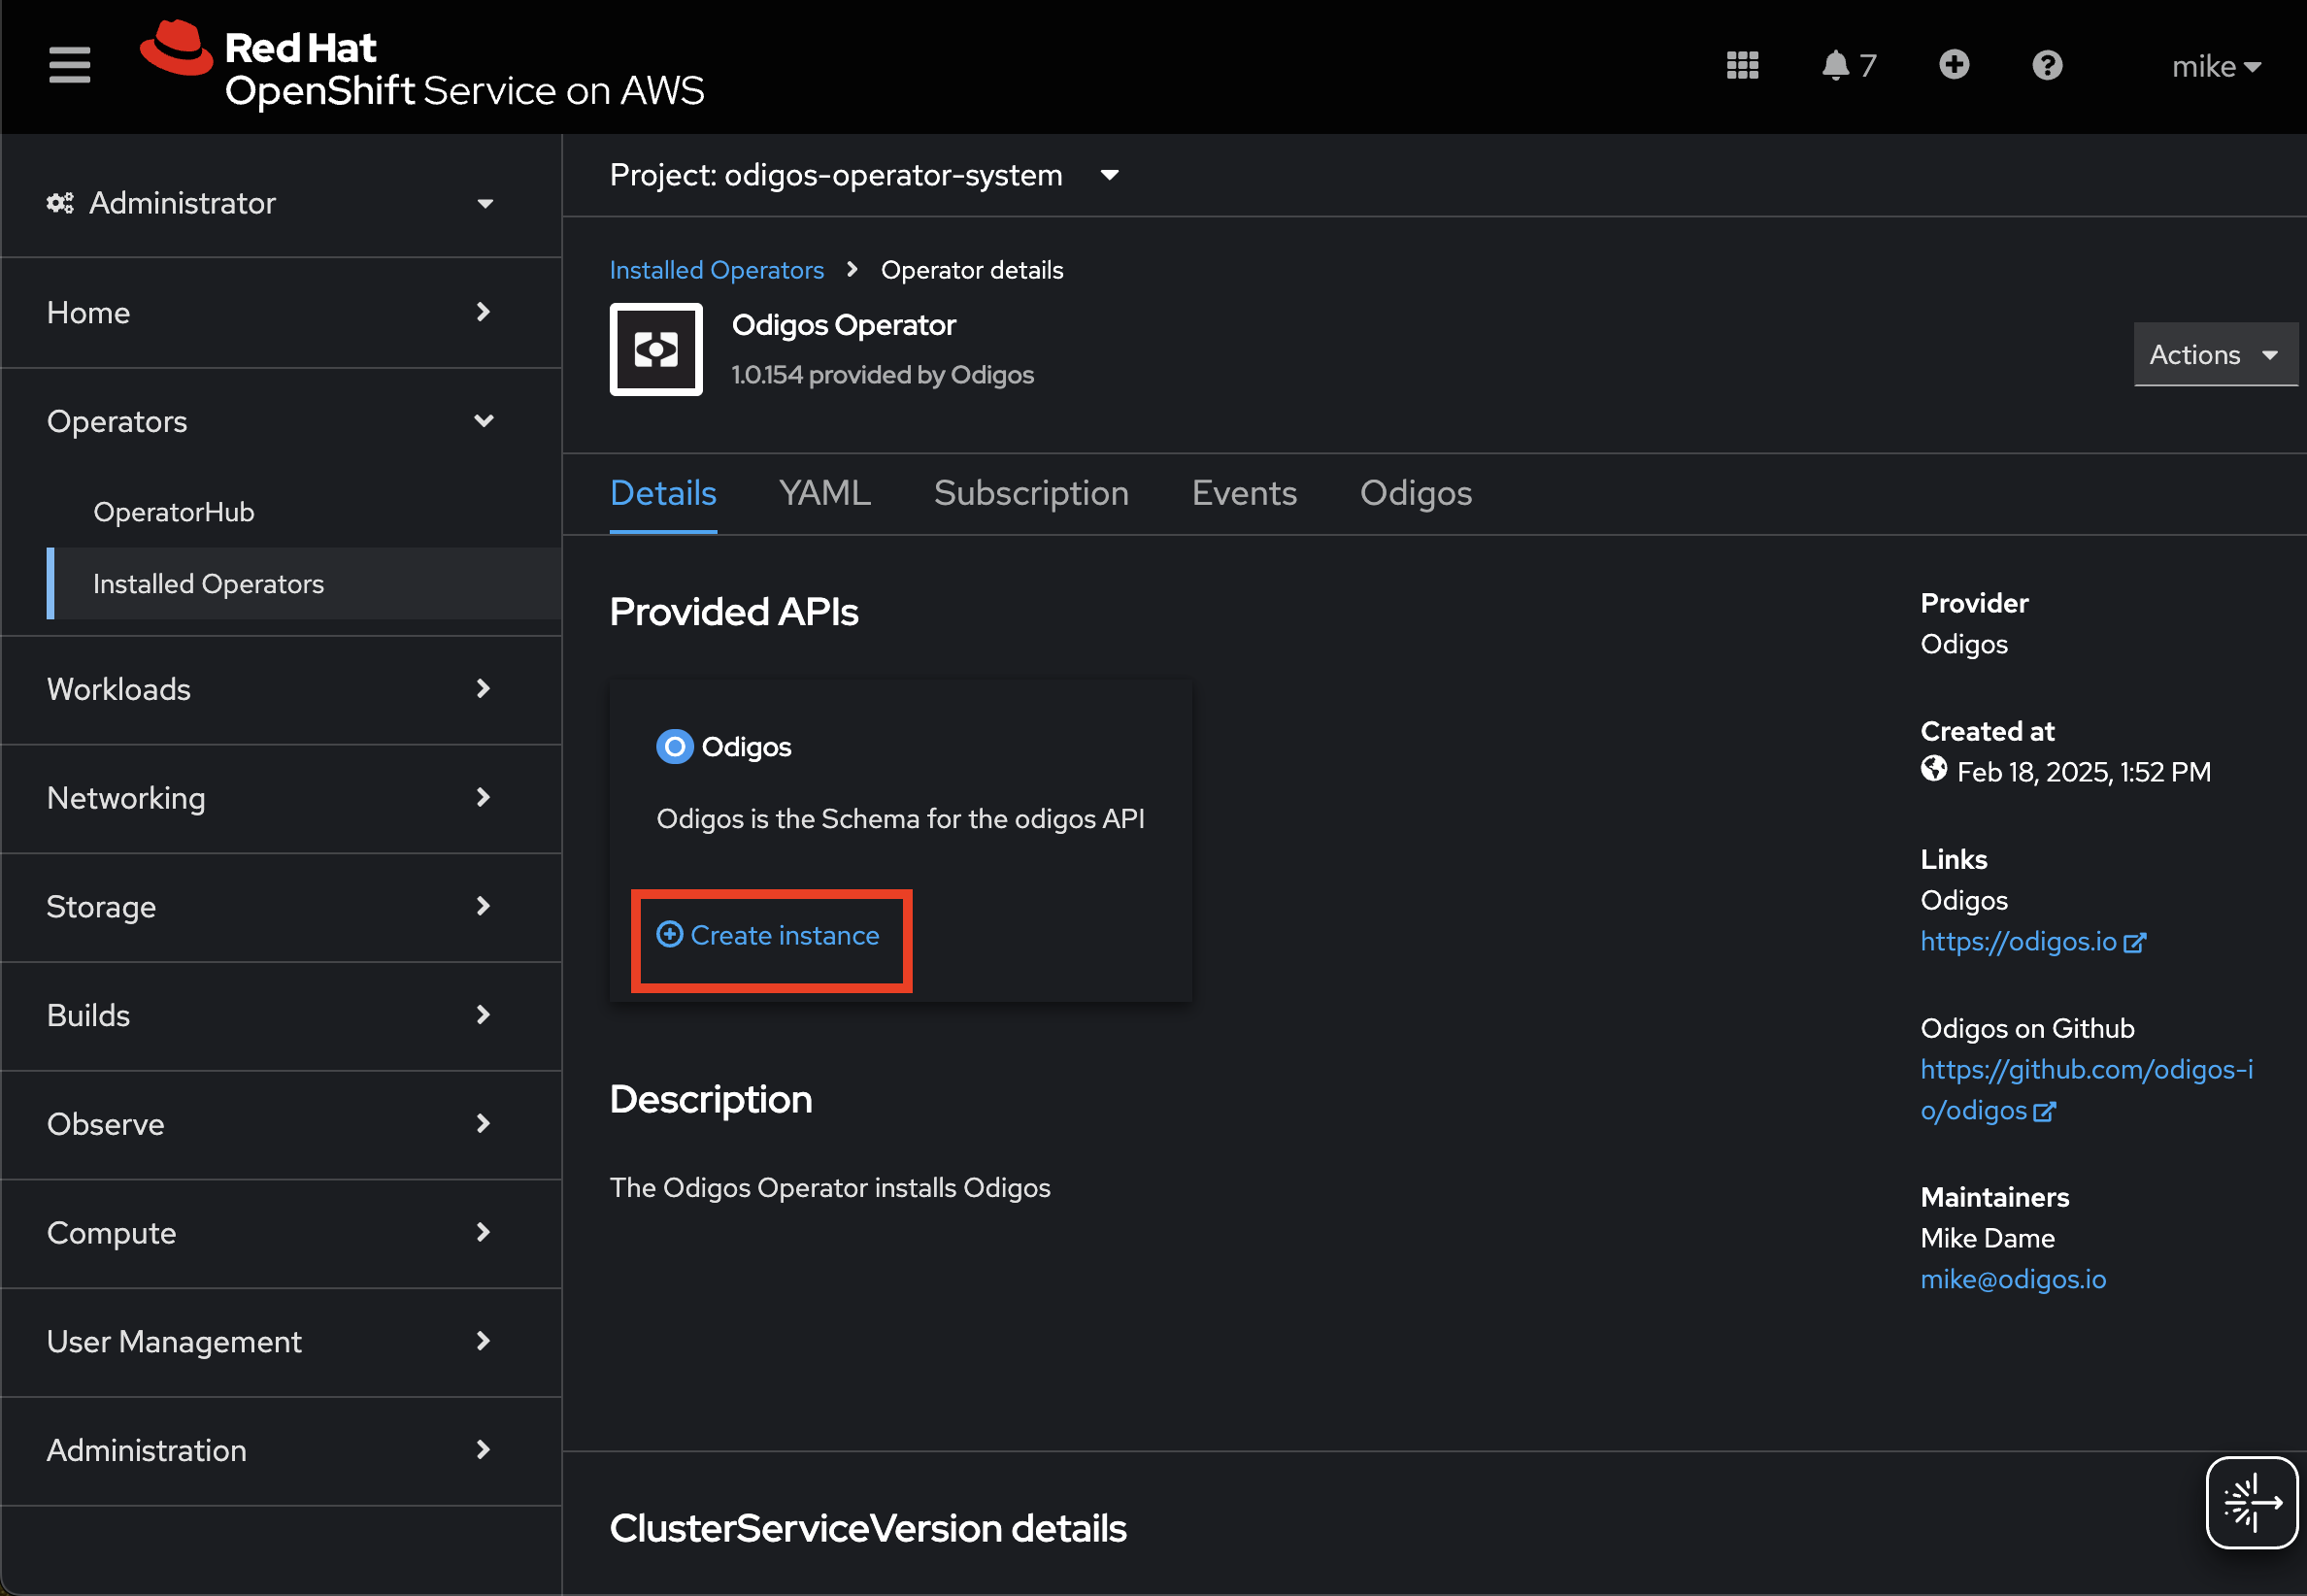
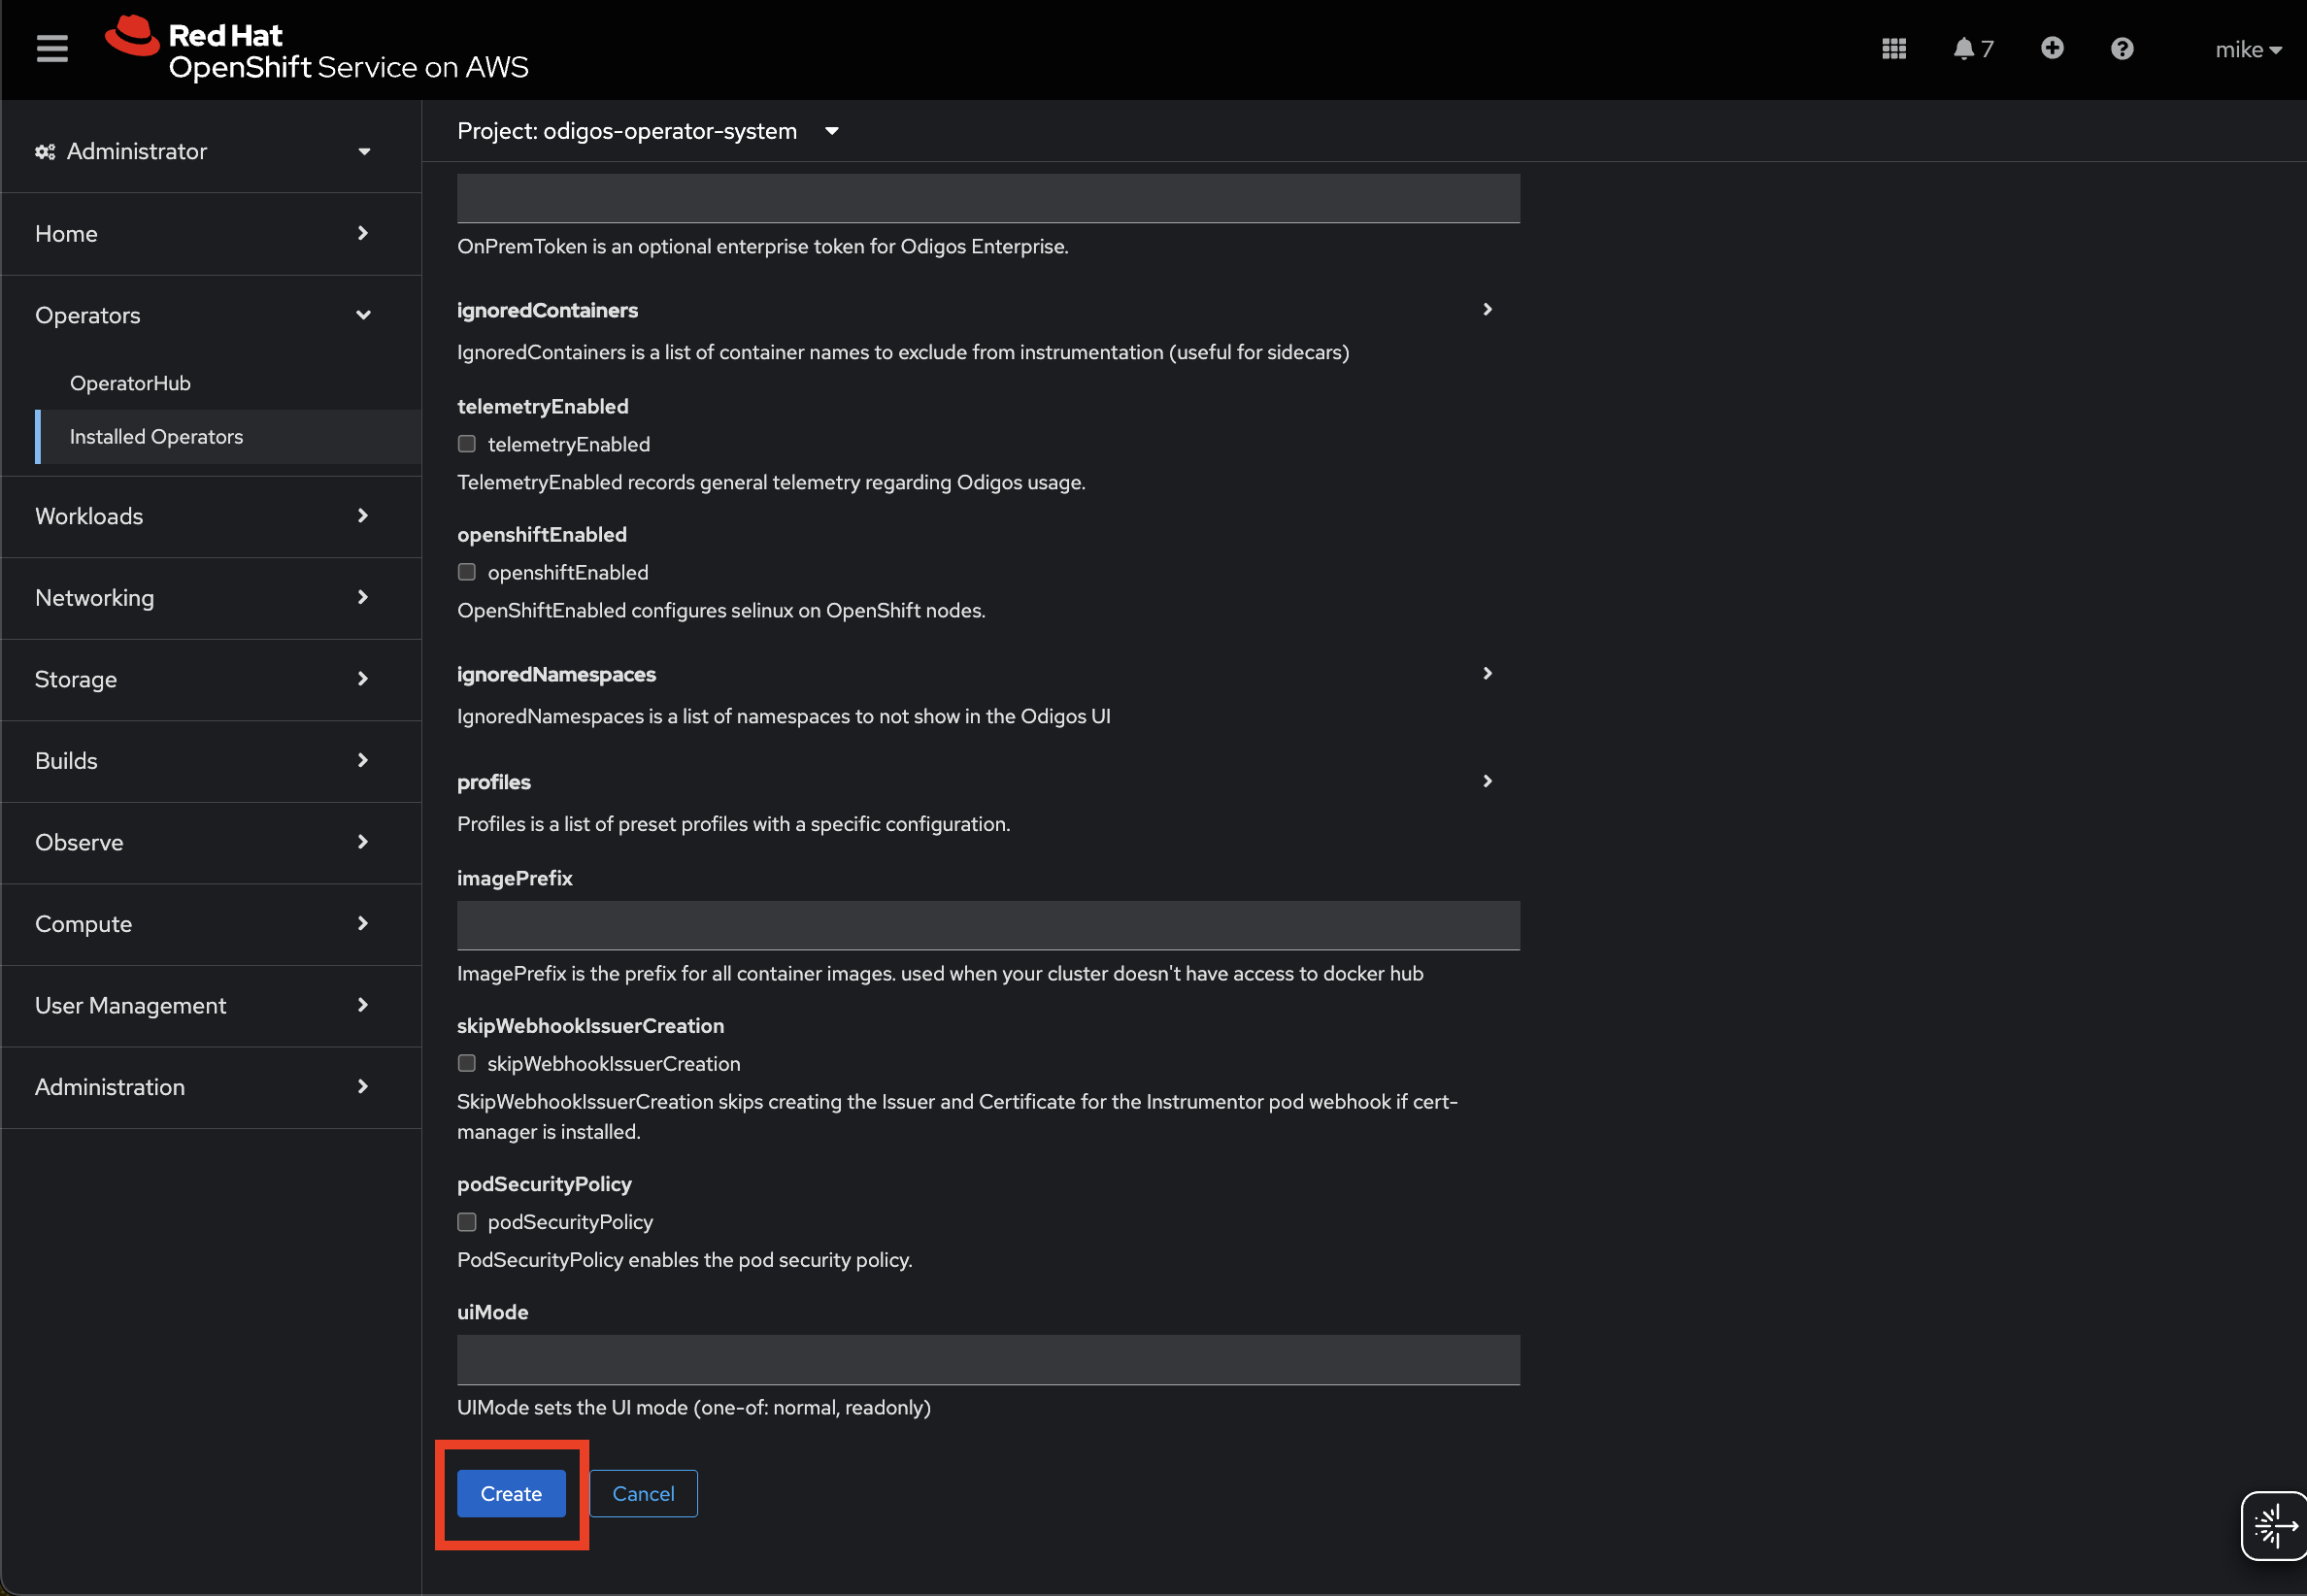
OpenShift Installation
Installing on OpenShift requires additional settings that can be configured based on your installation mode:- Odigos CLI
- Helm Chart
- Operator
Run the Odigos CLI with the
--openshift flag: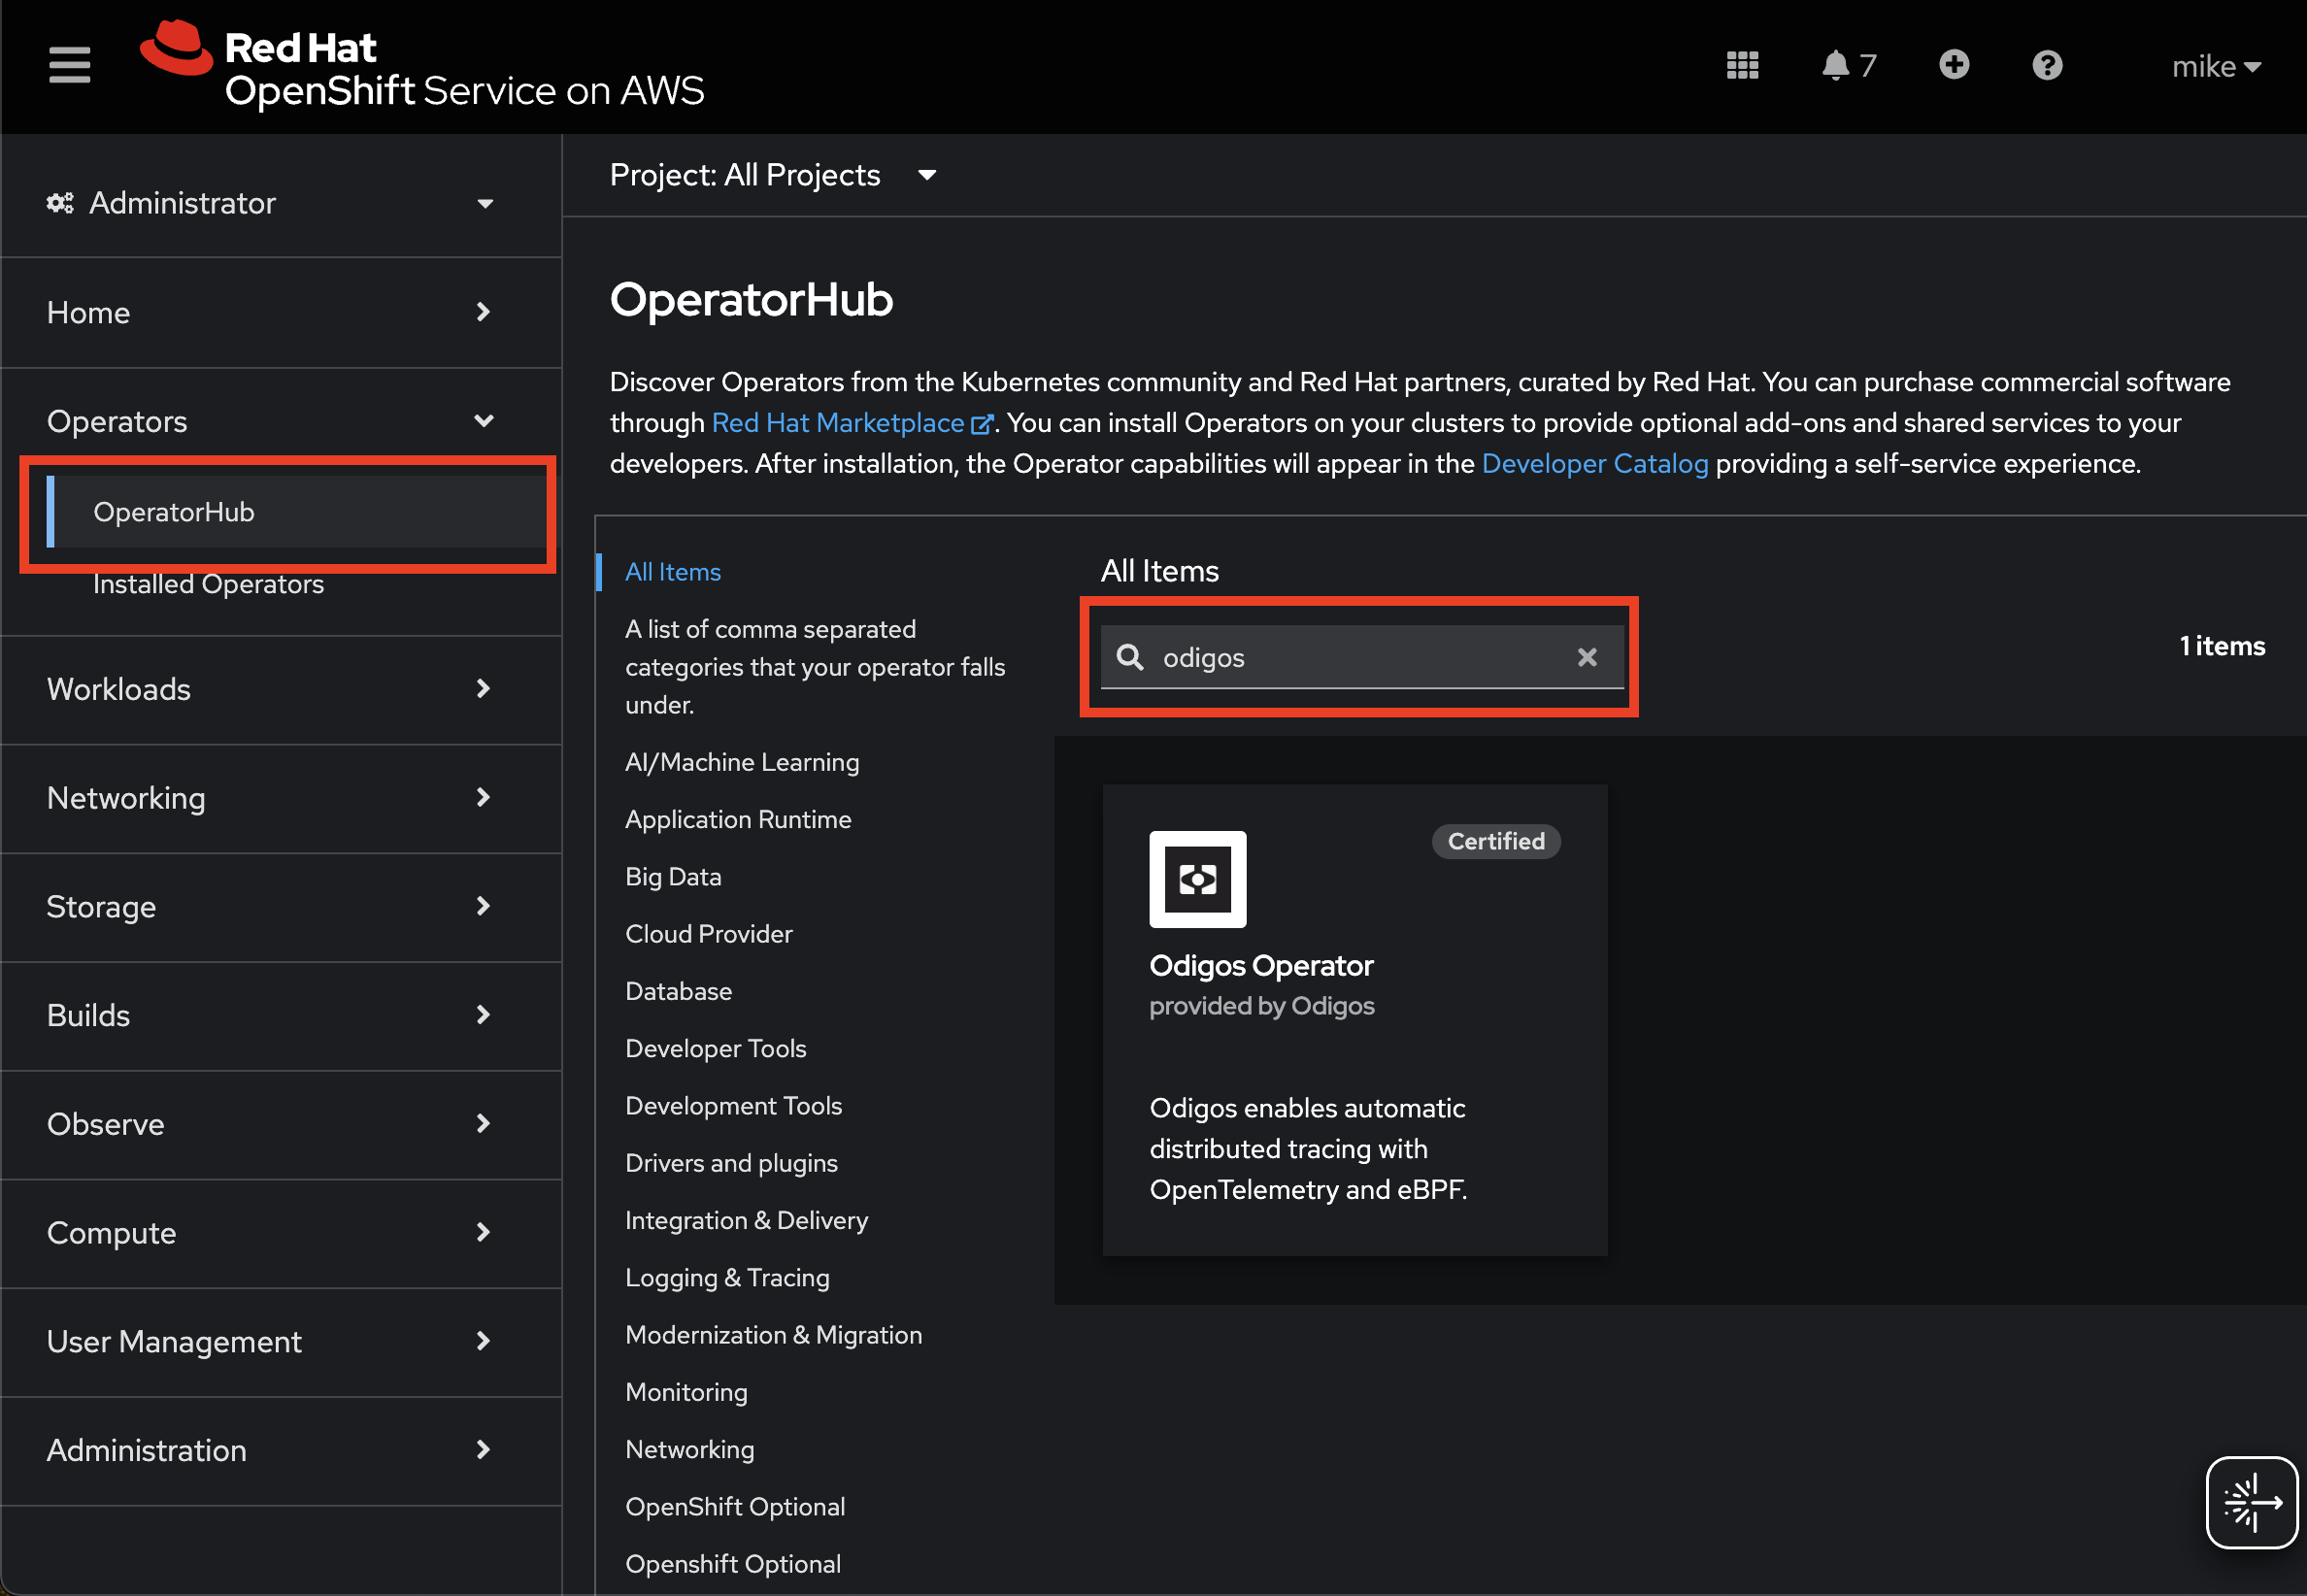

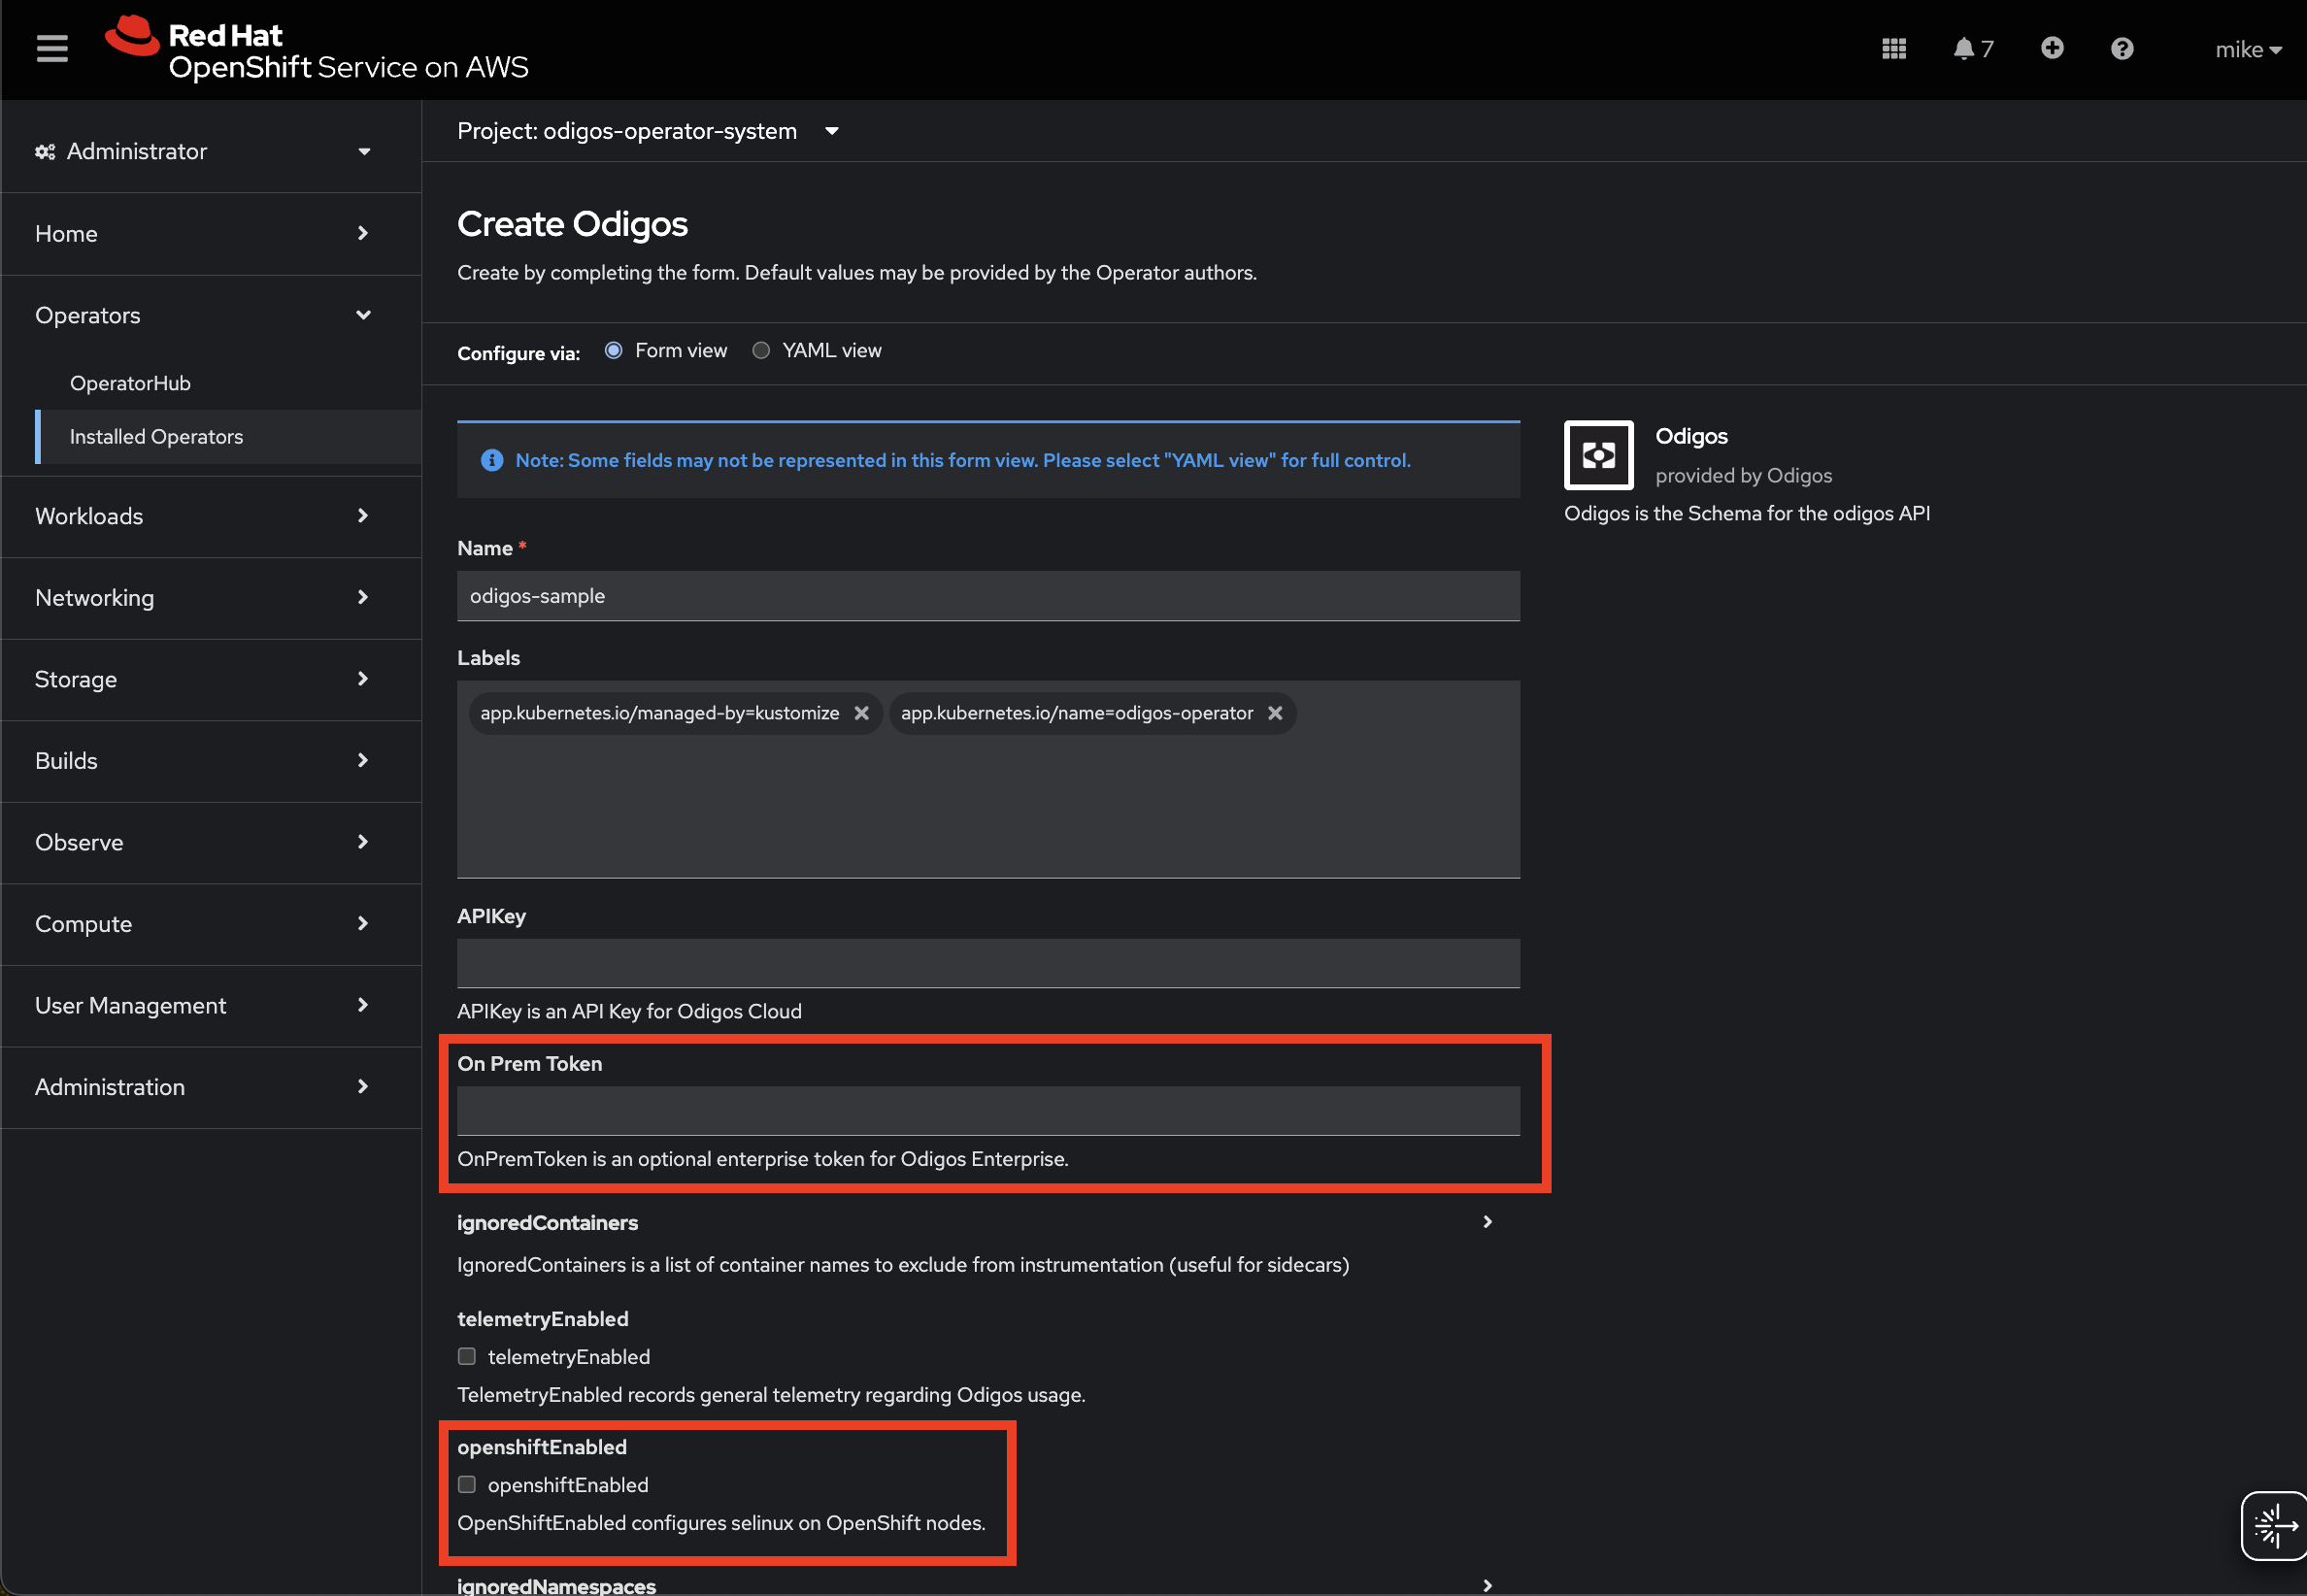
- Uses Red Hat certified component container images
- Configures required SELinux permissions for pods to access auto-instrumentation agents on RHEL nodes
- Configures RBAC permissions for Odigos components required by default in OpenShift clusters
--openshift flag will pull Odigos component images
from registry.connect.redhat.com/odigos. These images are based on
Red Hat’s Universal Base Image
9 and denoted with
the -rhel-certified suffix. These images are also hosted on the Odigos
DockerHub registry, which you can deploy by setting --openshift with
--image-prefix docker.io/keyval.
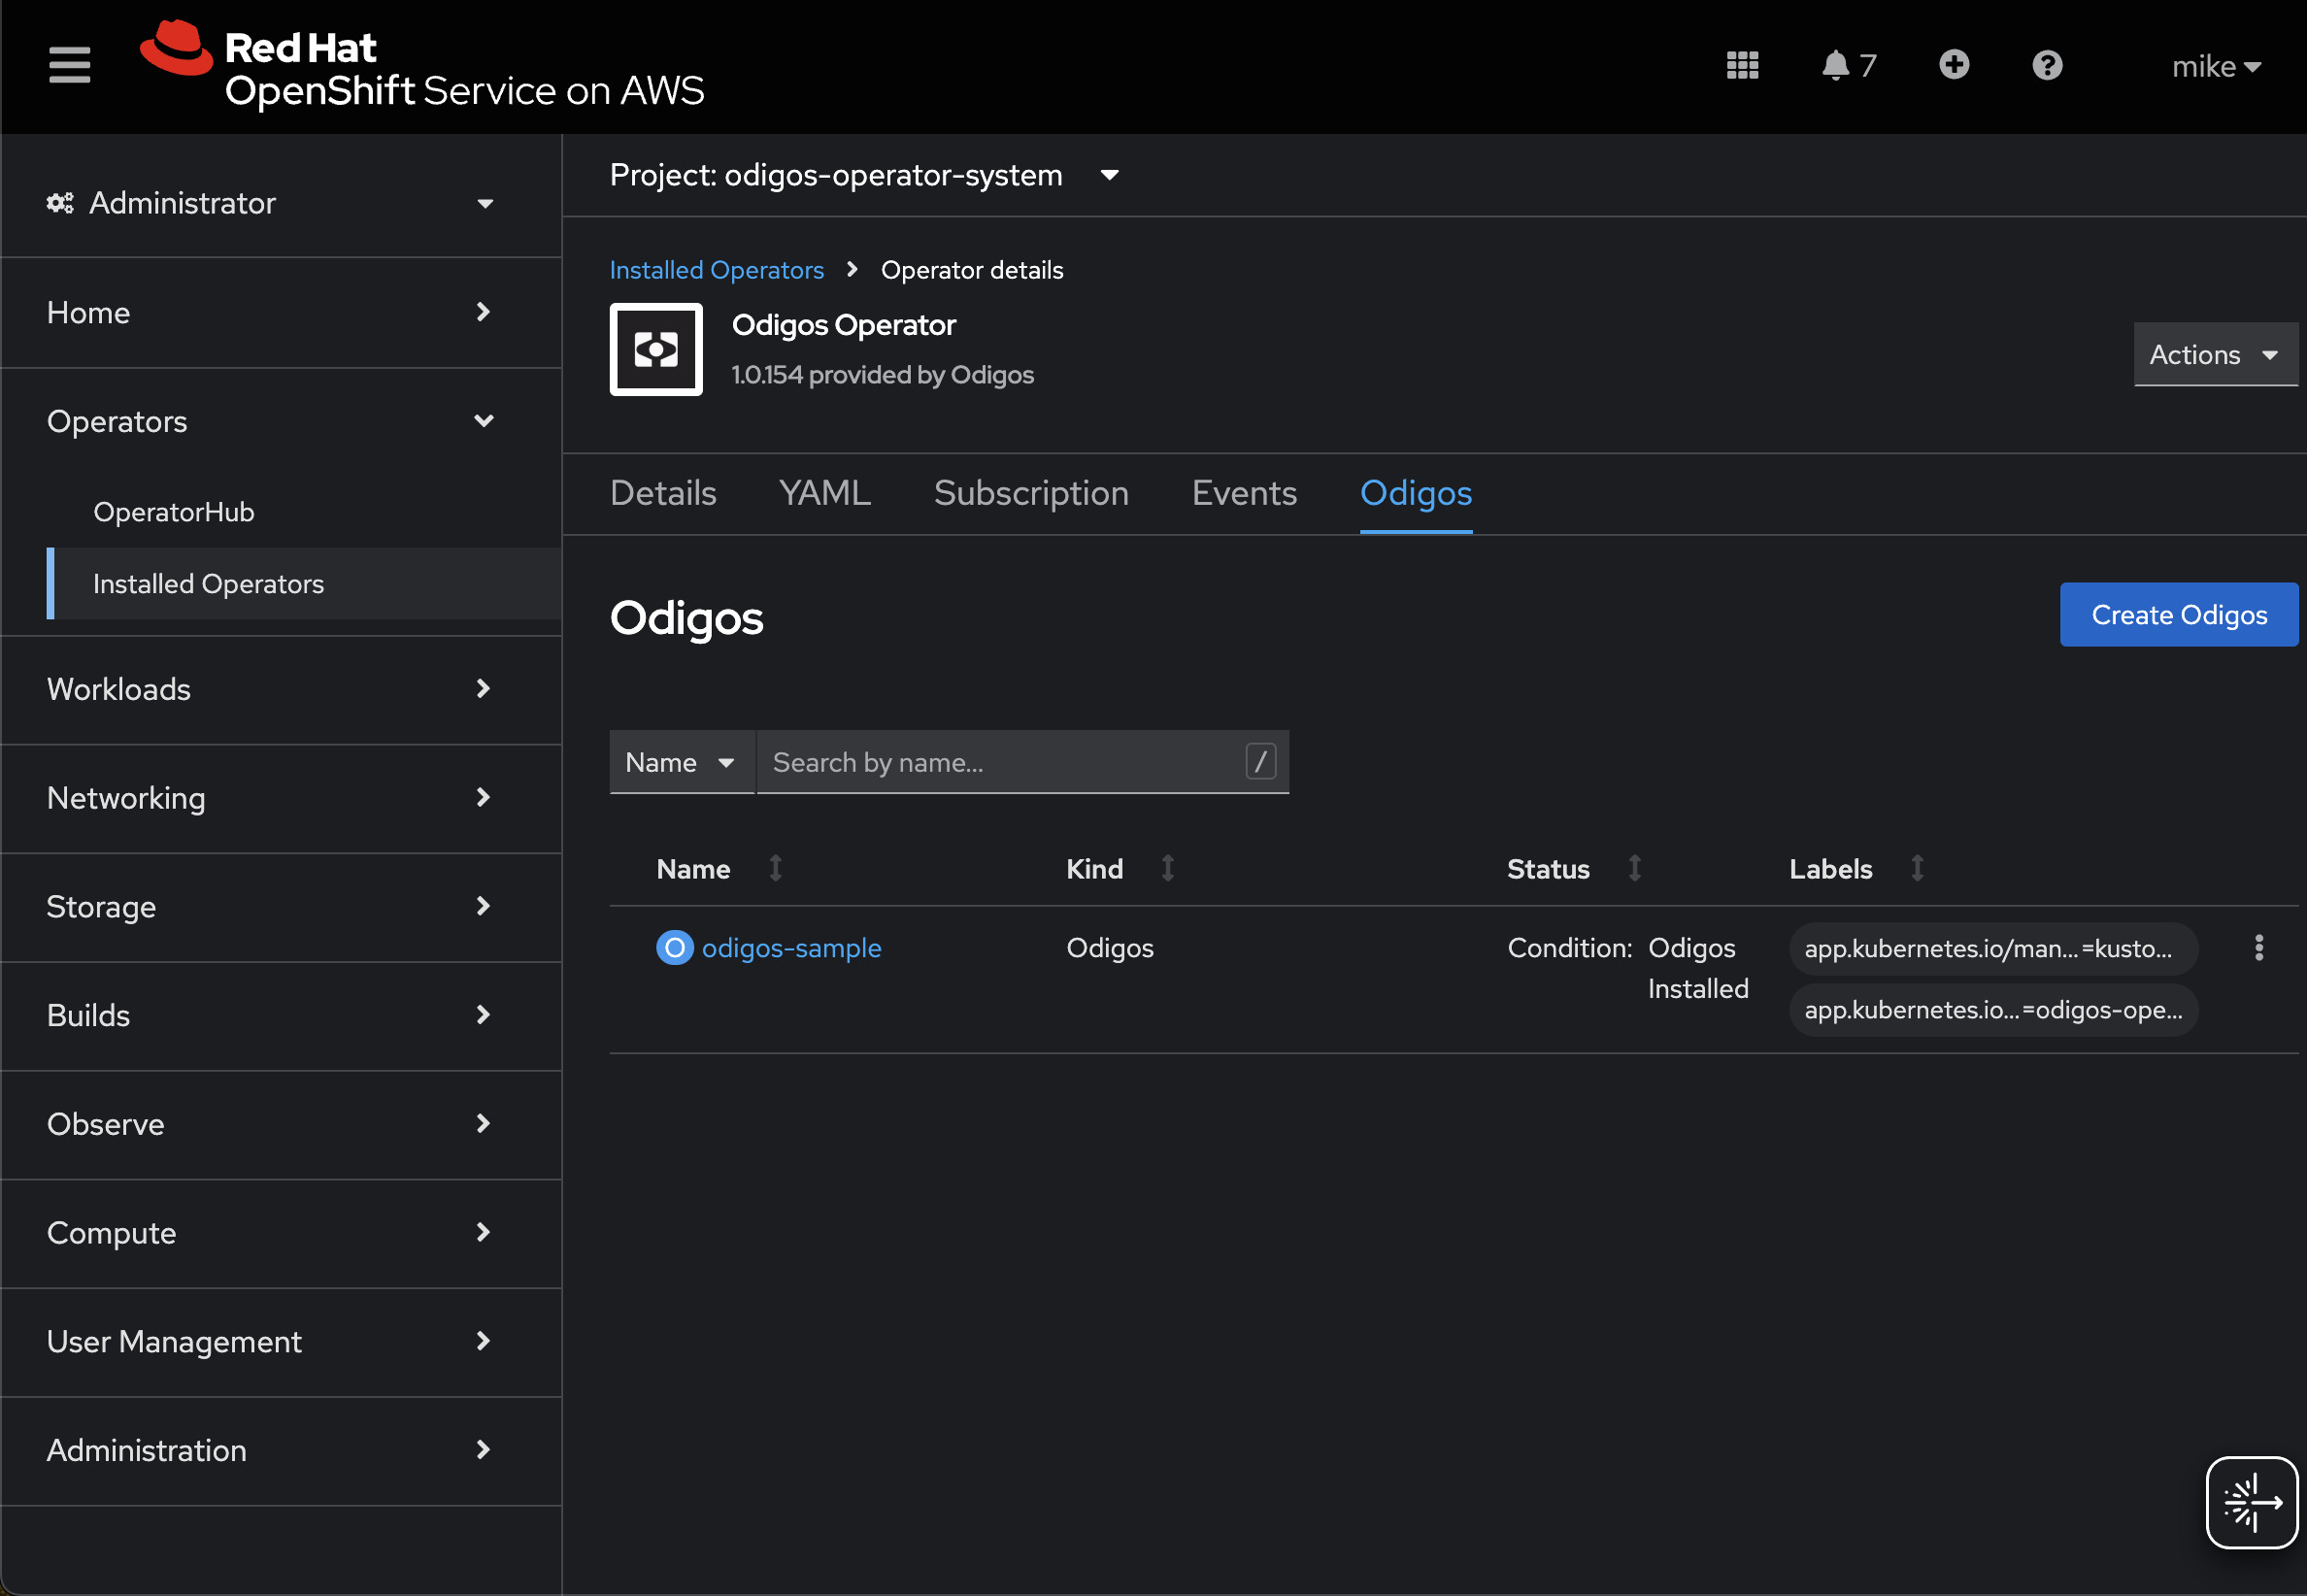
Exposing the Odigos UI via OpenShift Routes
To access the Odigos UI in OpenShift, use either the standardodigos ui command or create a Route that exposes the ui service on your
cluster’s external address. For example:
oc get routes ui -n odigos-system.
Note: If you’re deploying Odigos on OpenShift, you may need to set the route’s TLS termination to Edge to load it in your browser.
you will need to modify the YAML of the oc route with spec.tls.termination: edge
Check the OpenShift documentation or run oc expose -h for more
information on configuring OpenShift routes according to your
cluster’s requirements.
GKE Installation
Installing on Google Kubernetes Engine (GKE) requires additional settings that can be configured based on your cluster type:- Odigos CLI
- Helm Chart
For GKE Standard clusters:For GKE Autopilot clusters:
gke.enabled=true does the following:
- Configures a
ResourceQuotaforsystem-node-criticalpods, which is required for odiglet on GKE
GKE Autopilot
GKE Autopilot restricts privileged workloads by default. Odiglet requires elevated permissions for eBPF-based instrumentation, so it must be allowlisted before it can run on Autopilot clusters. Allowlist synchronization requires GKE version1.32.2-gke.1652000 or later.
When gke.autopilot=true, the Helm chart:
- Creates an
AllowlistSynchronizerthat syncs the Odigos odiglet allowlist from the Google-managed partner repository - Skips node label setup in the odiglet init phase, where Autopilot nodes cannot be modified. Autopilot is auto-detected by the
gk3-node name prefix; setgke.autopilot=trueto force this behavior
Node label limitations
On standard clusters, odiglet setsodigos.io/odiglet-oss-installed=true (or
odigos.io/odiglet-enterprise-installed=true for enterprise) on each node after
preparing it for instrumentation. Autopilot does not allow modifying node labels,
so odiglet skips this step.
Without the label:
- Instrumented pod scheduling with hostPath or CSI mount methods — For
k8s-host-pathandk8s-csi-drivermount methods, the instrumentor webhook adds required node affinity matching the odiglet installed label so pods only schedule on nodes where odiglet has prepared/var/odigos. Without the label on Autopilot nodes, newly instrumented pods may remain Pending and fail to schedule. The defaultk8s-virtual-devicemount method does not rely on this label and is recommended on Autopilot. - Karpenter integration — Odiglet normally removes the
odigos.io/needs-initstartup taint when it sets the node label. This step is also skipped on Autopilot, so the Karpenter integration workflow is not supported.
Manually create the AllowlistSynchronizer
If you do not setgke.autopilot=true, create the AllowlistSynchronizer yourself
before odiglet pods are scheduled. See the GKE documentation for running Autopilot
partner workloads
for more details.
Apply the following manifest to install all Odigos allowlists from the partner
repository: