

Getting Started
 Obtaining Access Token
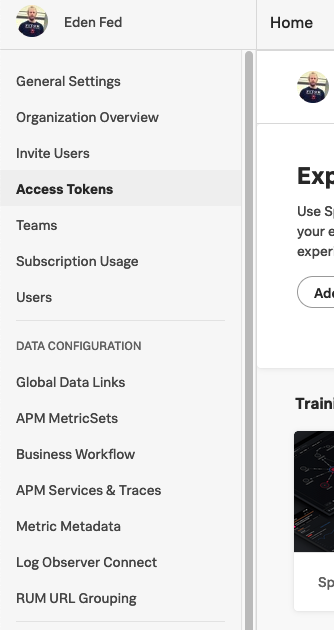
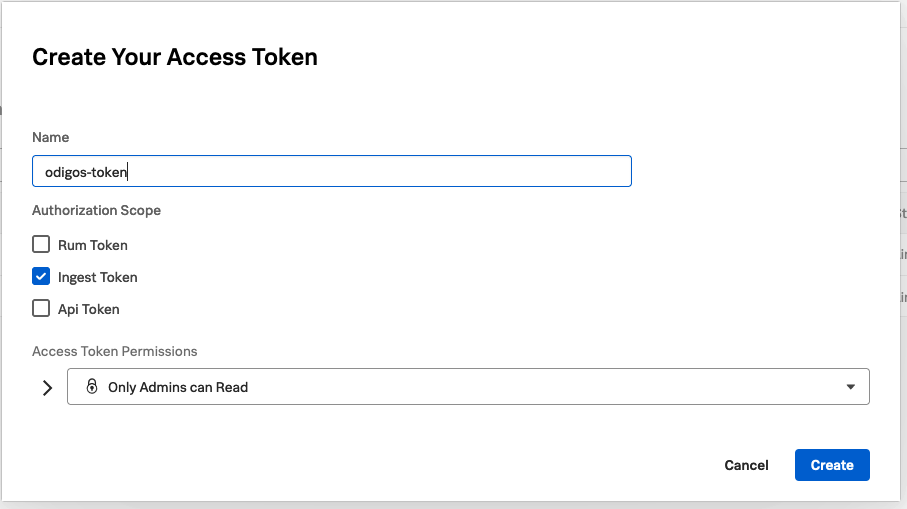
Go to Settings then Access Tokens and click Create New Token
Configuring Destination Fields
Supported Signals:
Supported Signals:
✅ Traces
❌ Metrics
❌ Logs
❌ Profiles
- SPLUNK_ACCESS_TOKEN
string: Access Token.- This field is required
- SPLUNK_REALM
string: Realm. The Splunk realm in use. This is the second part of the URL you use to access Splunk/SignalFX. For example, if you access Splunk athttps://app.us1.signalfx.com, then the realm isus1.- This field is required
Adding Destination to Odigos
There are two primary methods for configuring destinations in Odigos:Using the UI
1
Use the Odigos CLI to access the UI
2
Click on
Add Destination, select Splunk (SAPM) (Deprecated) and follow the on-screen instructionsUsing Kubernetes manifests
1
Save the YAML below to a file (e.g.
splunk.yaml)2
Apply the YAML using
kubectl