Getting Started
 On the left sidebar click on
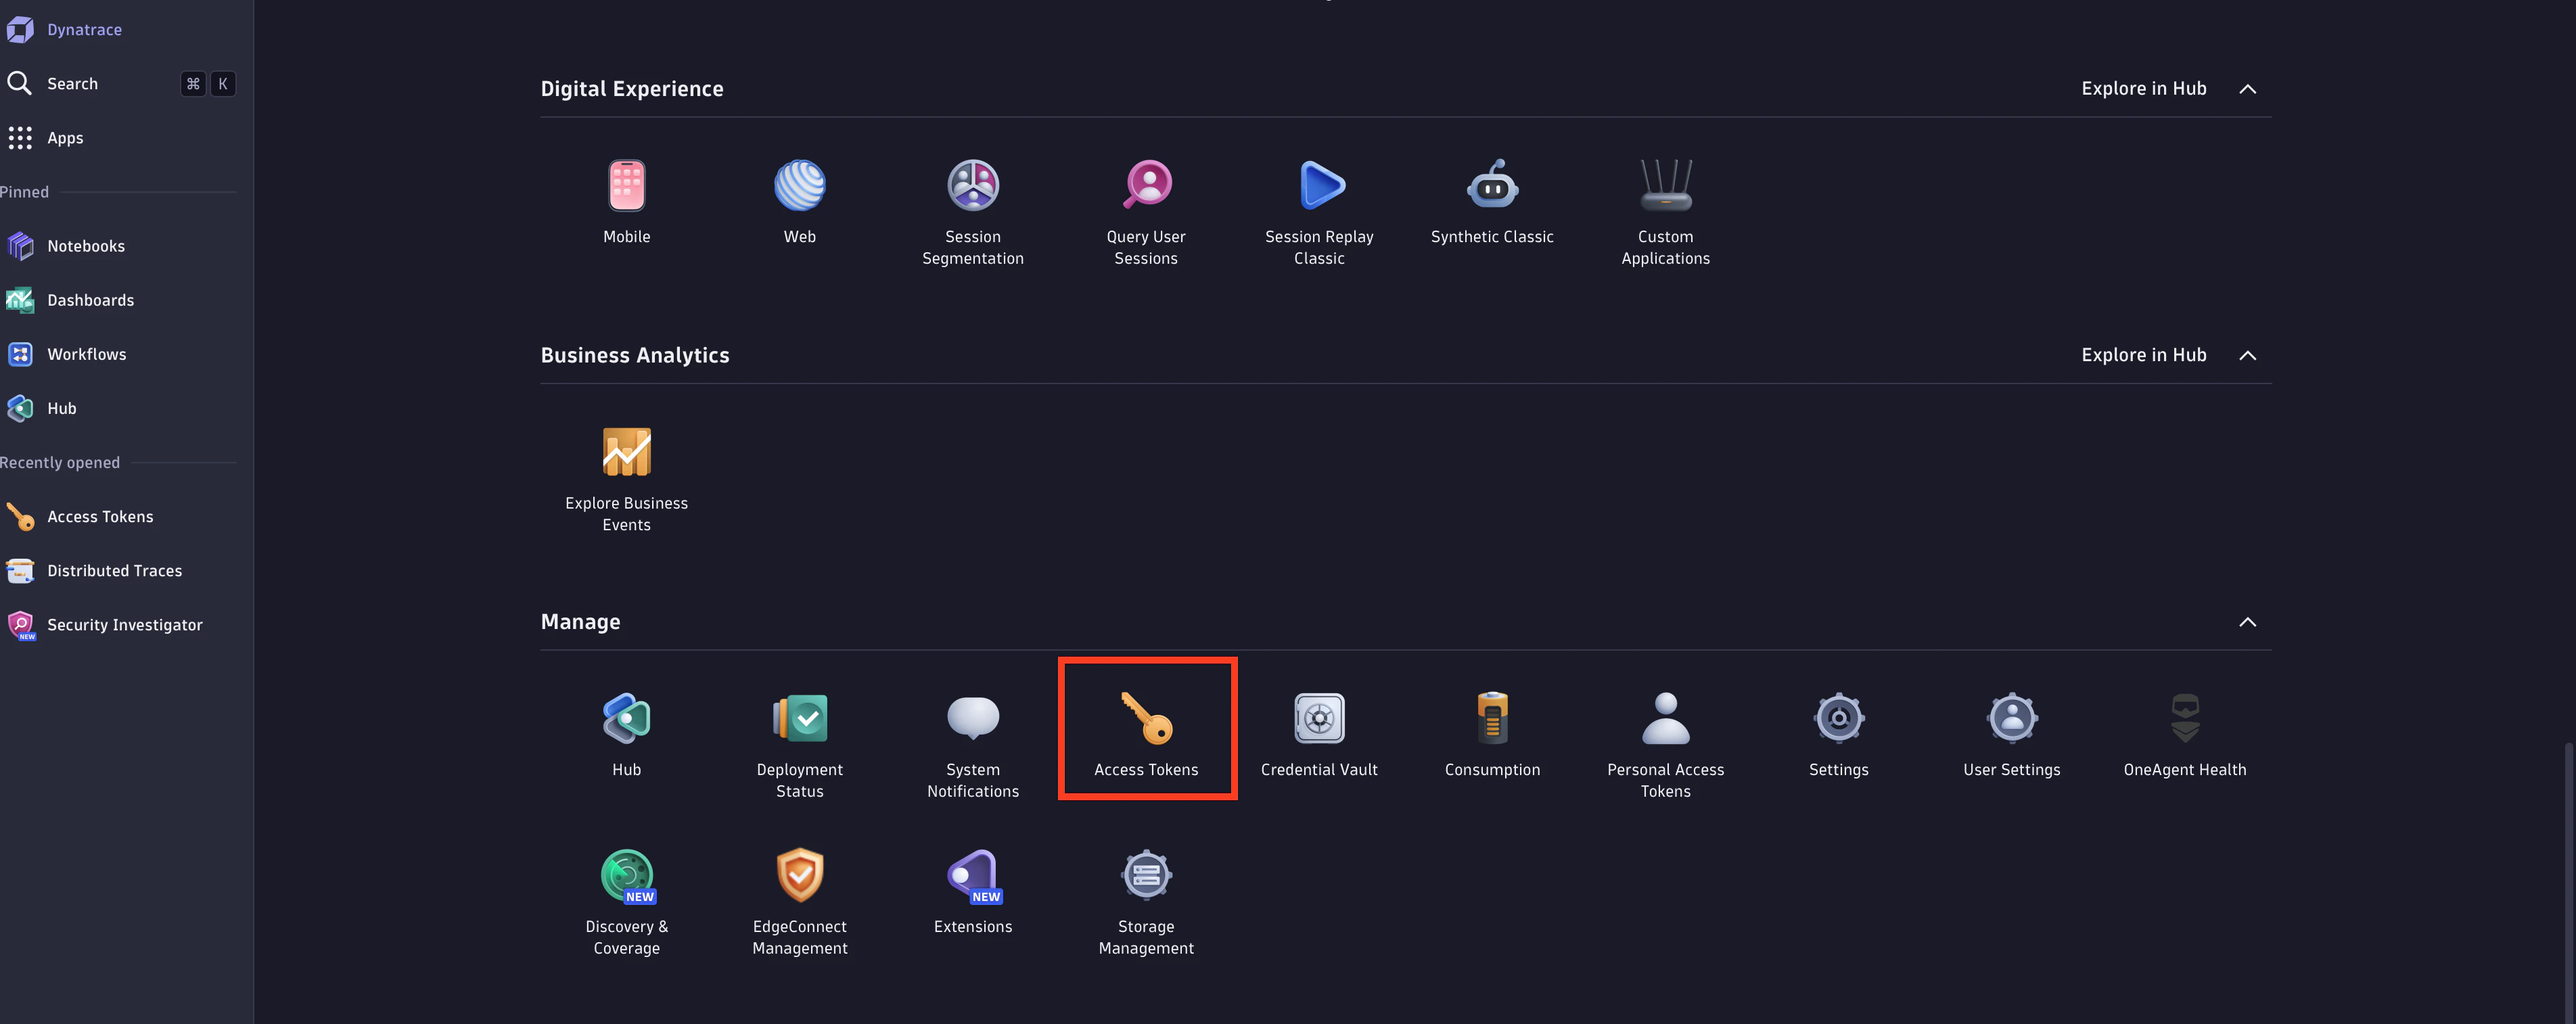
 Apps, then under Manage select Access Tokens:
Make sure to add the required capabilities for the access tokens (e.g Ingest OpenTelemetry traces for traces).
Configuring Destination Fields
✅ Traces
✅ Metrics
✅ Logs
❌ Profiles
- DYNATRACE_URL
string : Tenant URL.
- This field is required
- Example:
https://{your-environment-id}.live.dynatrace.com
- DYNATRACE_API_TOKEN
string : API Access Token.
Adding Destination to Odigos
There are two primary methods for configuring destinations in Odigos:
Using the UI
Click on Add Destination, select Dynatrace and follow the on-screen instructions
Using Kubernetes manifests
Save the YAML below to a file (e.g. dynatrace.yaml)apiVersion: odigos.io/v1alpha1
kind: Destination
metadata:
name: dynatrace-example
namespace: odigos-system
spec:
data:
DYNATRACE_URL: <Tenant URL>
destinationName: dynatrace
secretRef:
name: dynatrace-secret
signals:
- TRACES
- METRICS
- LOGS
type: dynatrace
---
apiVersion: v1
data:
DYNATRACE_API_TOKEN: <Base64 API Access Token>
kind: Secret
metadata:
name: dynatrace-secret
namespace: odigos-system
type: Opaque
Apply the YAML using kubectlkubectl apply -f dynatrace.yaml