Getting Started
 Where to find the data
- Each Odigos destination send collected telemetry to a single environment in Honeycomb.
- The collected telemetry will go into Honeycomb datasets based on the
service.nameresource attribute. odigos will set it by default to the k8s workload (deployment) name (or as set in source configuration).
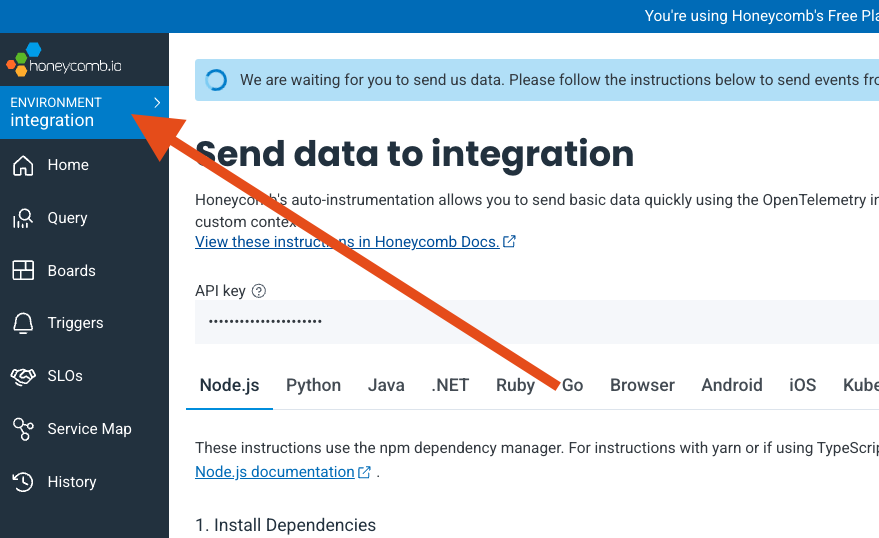
Go to the 🔗 website and login/create your honeycomb account. You can start with the Free plan to test sending traces, logs and metrics without needing to provide a credit card. Select Environment
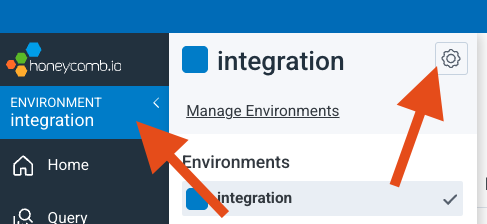
Honeycomb uses environments to partition and organize data. Common environments includes
staging, production, development, integration, or you might want to include the cluster/unit name
to group and isolate telemetry that is unrelated.
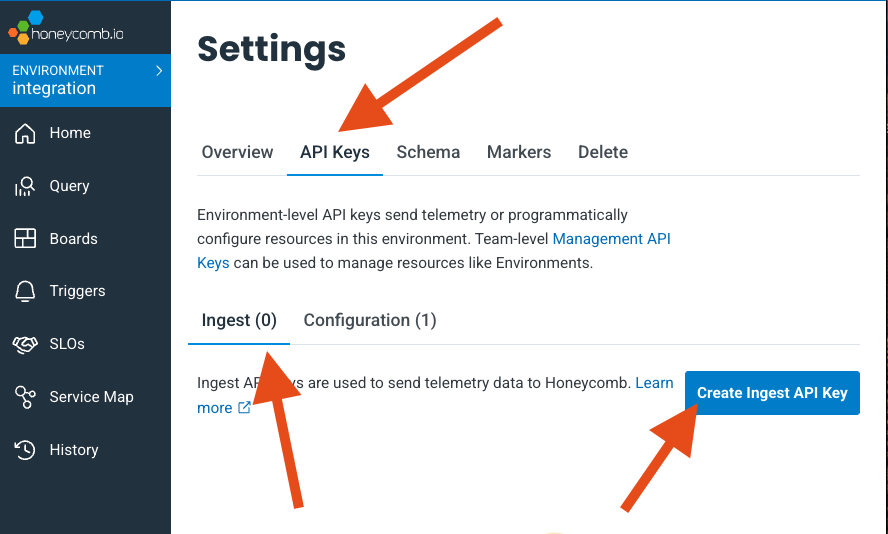
Each Odigos Honeycomb destination always sends the data to a single environment, based on the “API Key” it is configured with.
Before creating your API Key, make sure to select in ui the environment you want your odigos collected telemetry to show up in.

Configuring Destination Fields
Supported Signals:
Supported Signals:
✅ Traces
✅ Metrics
✅ Logs
❌ Profiles
- HONEYCOMB_API_KEY
string: API Key.- This field is required
- HONEYCOMB_ENDPOINT
string: Endpoint. Choose one of the endpoints in the dropdown (api.honeycomb.iois the US instance,api.eu1.honeycomb.iois EU instance)- This field is required
Adding Destination to Odigos
There are two primary methods for configuring destinations in Odigos:Using the UI
Use the Odigos CLI to access the UI